 |
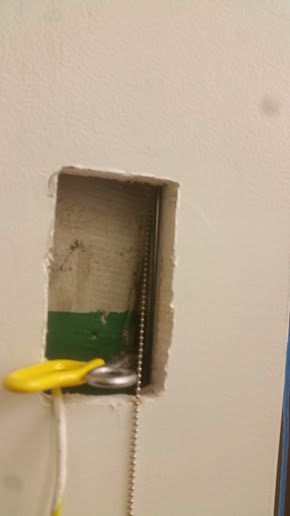
| Using a ball chain to snake the wire behind the wall. |
I made my first cut in the sheetrock straight down the wall flush with a beam so that I might have something to screw the bracket to if needed.
 |
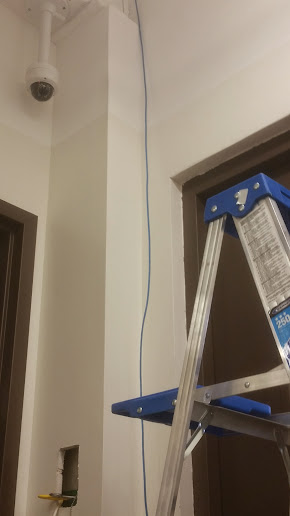
| Snaking the wire down the wall. |
I then used the mount as a template to trace out and cut the hole. Once the hole was cut it was a very snug fit and there was actually no need to screw the mount to anything.
 |
| Installing wall mount for IP door phone |
I must say I am quite satisfied with the visual of this device, although we had installed two of these for this customer, and both of them ended up failing within several months.
 |
| Final product. |
I have not been back to troubleshoot any issues with the second one, but the first one apparently has one way audio issues, which I believe to be a hardware failure, not a software issue. The person at the door phone can not hear the person who answers the phone, but the person who answers the phone can hear the person that is at the door.
The second defective unit I do not know exactly what the issue is.

No comments:
Post a Comment