
Monday, July 20, 2015
Tuesday, July 14, 2015
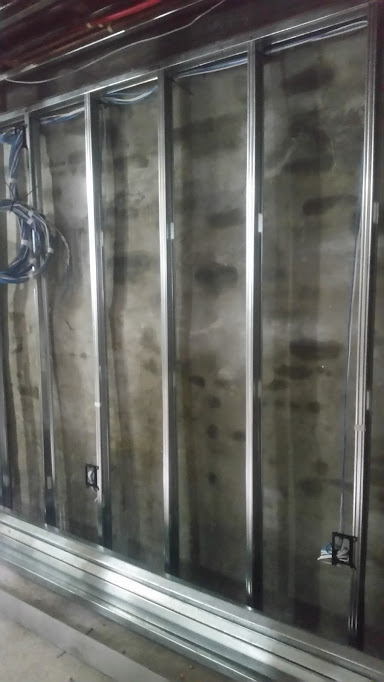
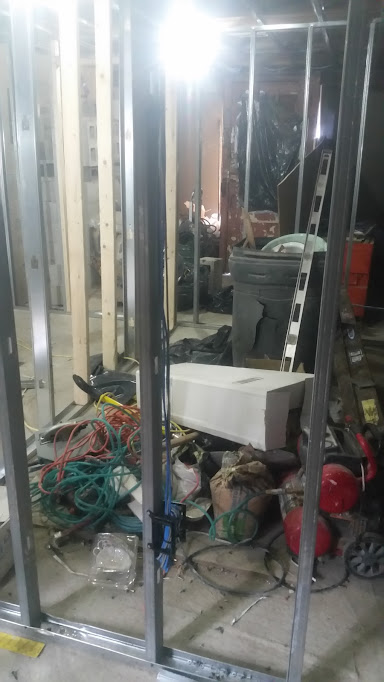
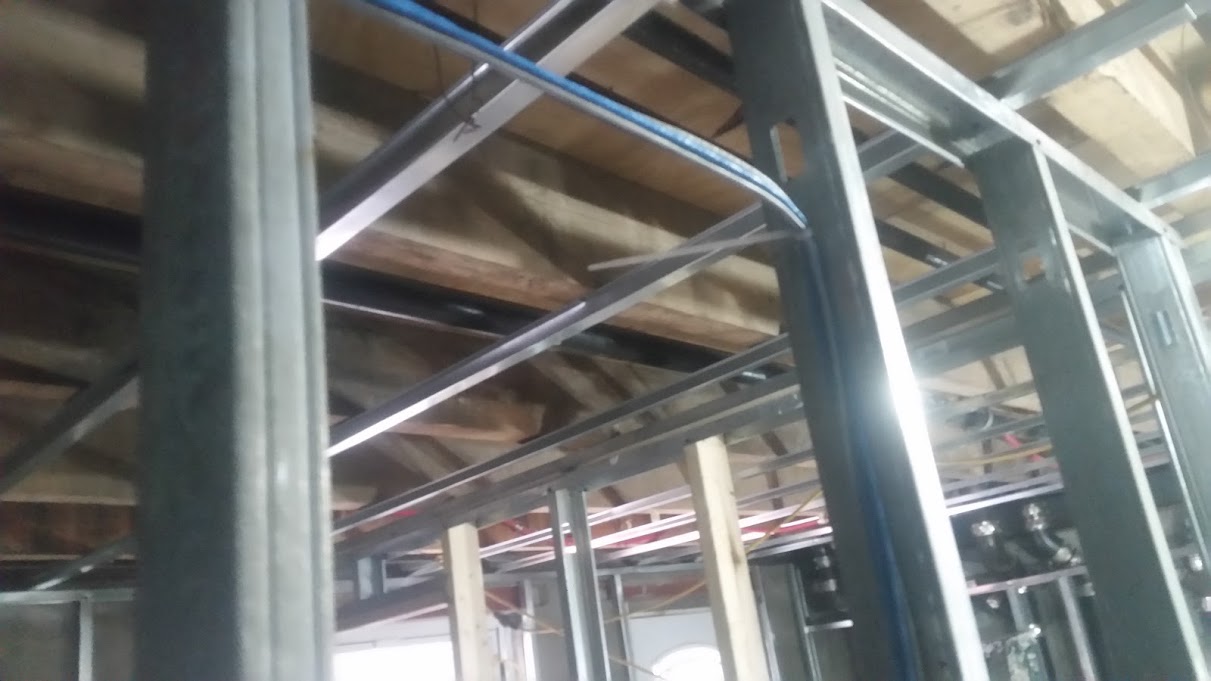
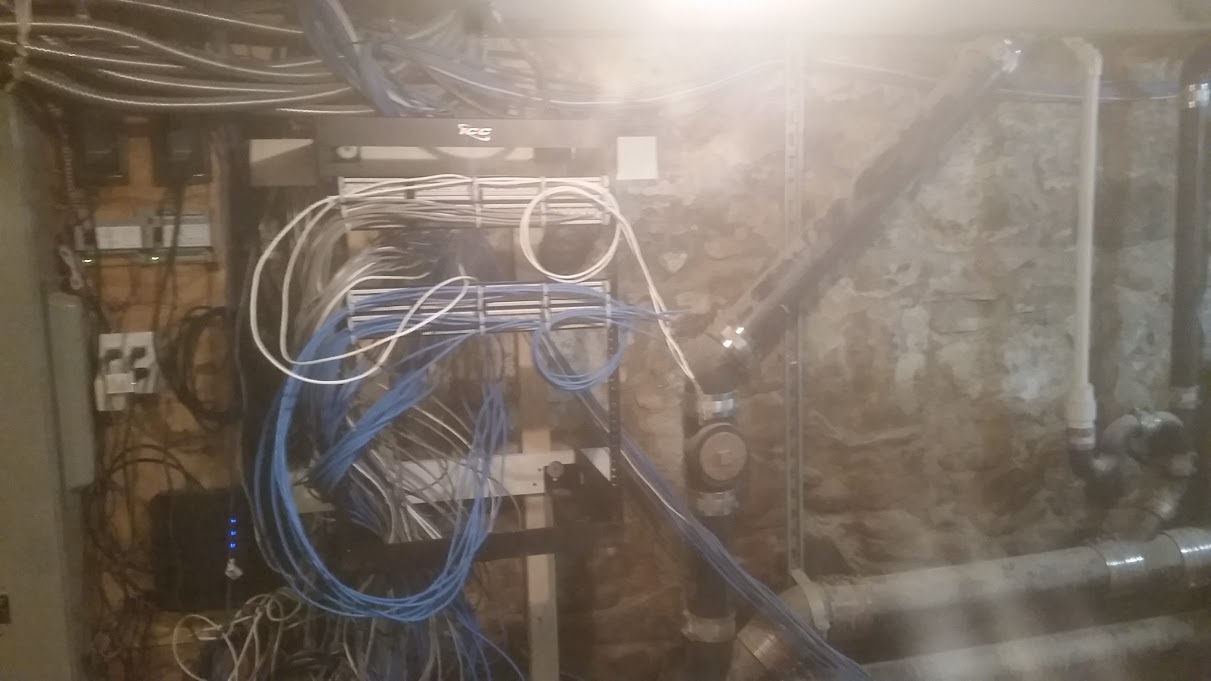
pre-wiring office network, camera, and door buzzer wiring.
Pre-wired this office, about 30 wires, in about 3 hours by my self. If I hadn't taken the time to strap everything so neatly I could have been done in 2 hours.
 |
| Pulled wires behind beams and strapped them up. |
Wiring set up for double CAT 5 jacks at each drop, 2 door phones and door latches, 6 cameras, and 3 monitors.
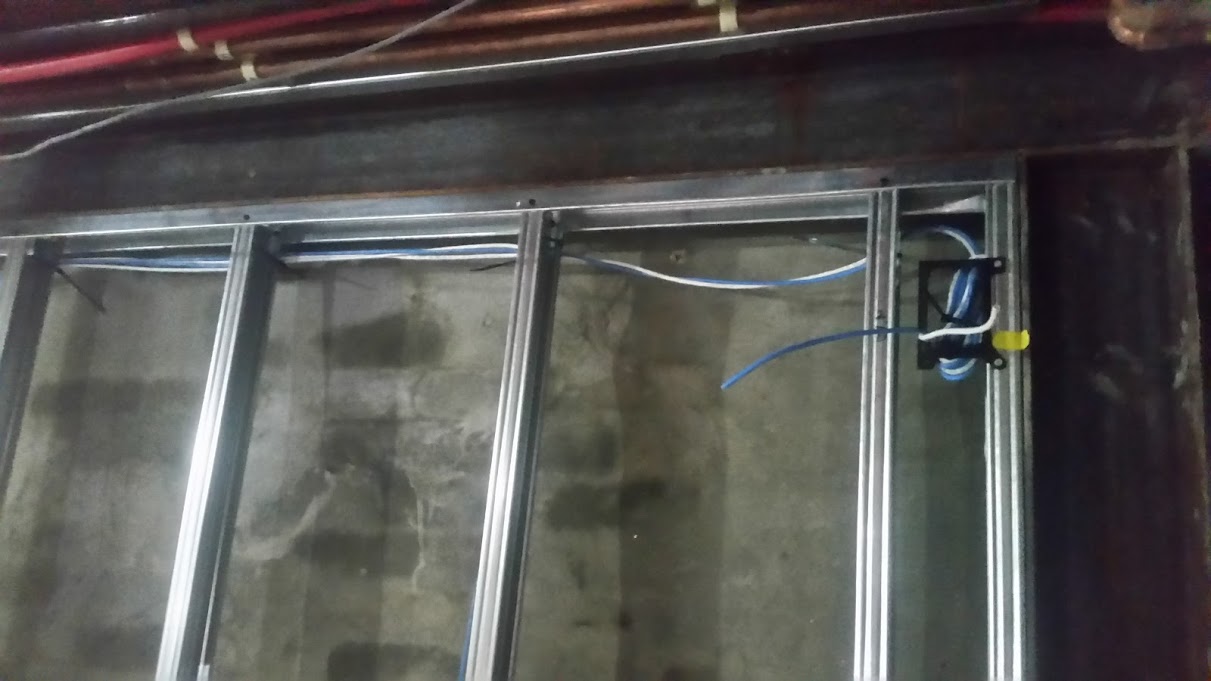 |
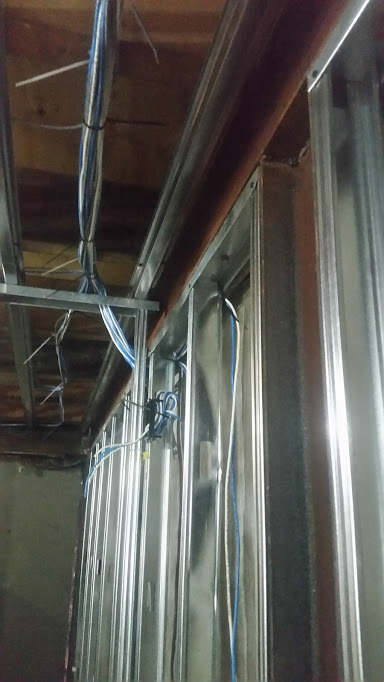
| Wires strapped by ceiling, behind wall beams. |
 |
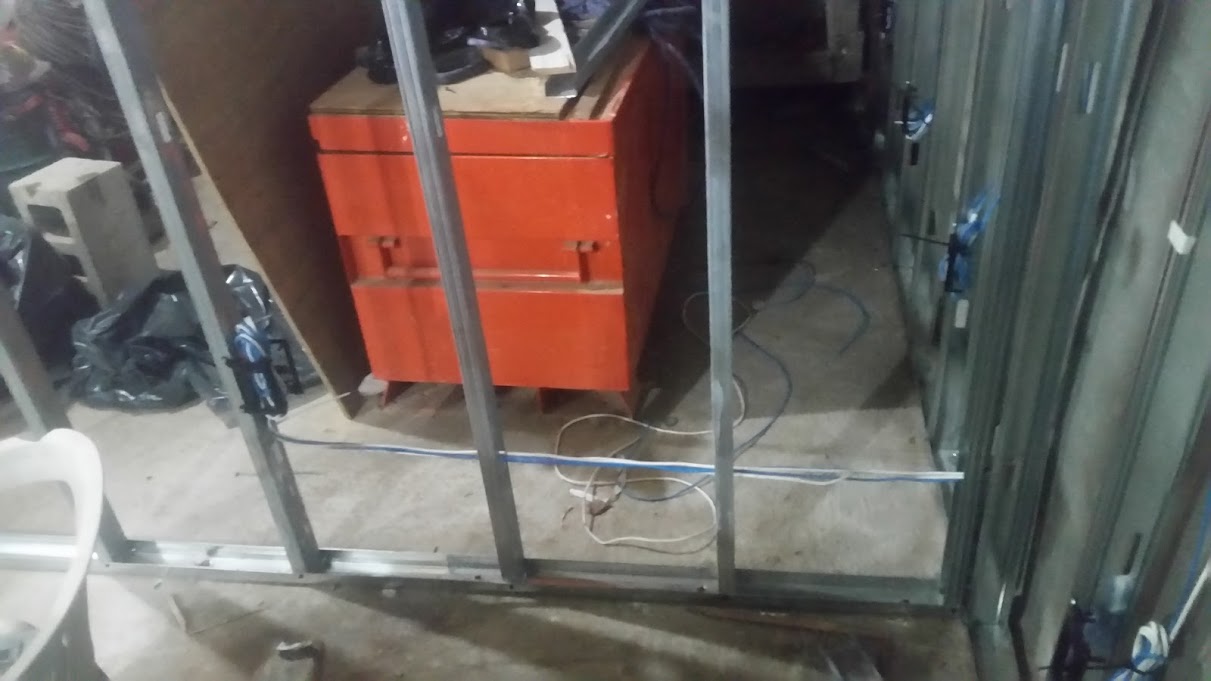
| Loop where the enclosed rack is going to be mounted |
 |
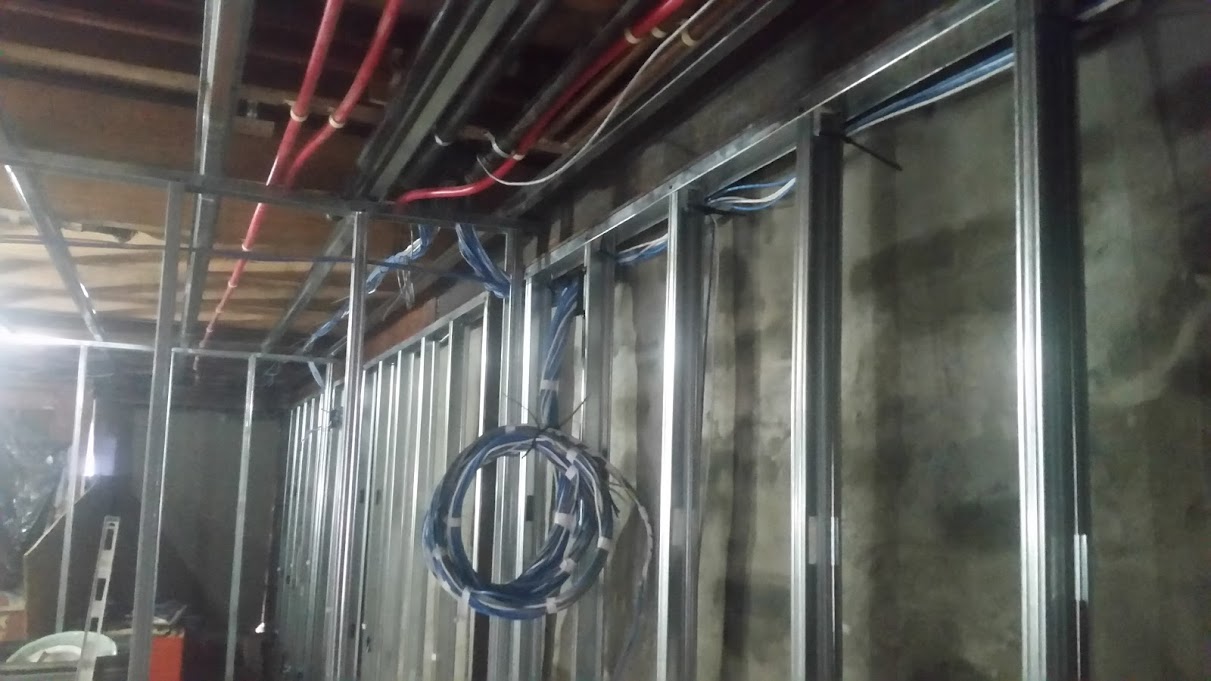
| Wires strapped to center of beams, so when ceiling is installed wire isn't damaged by screws. |
 |
| Wires strapped to beam, to protect from being screwed into when walls go up. |
 |
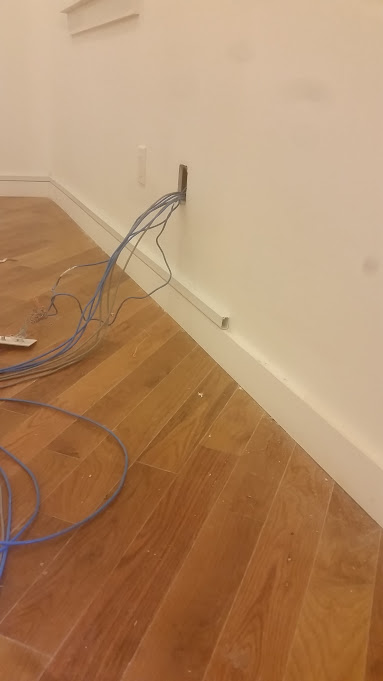
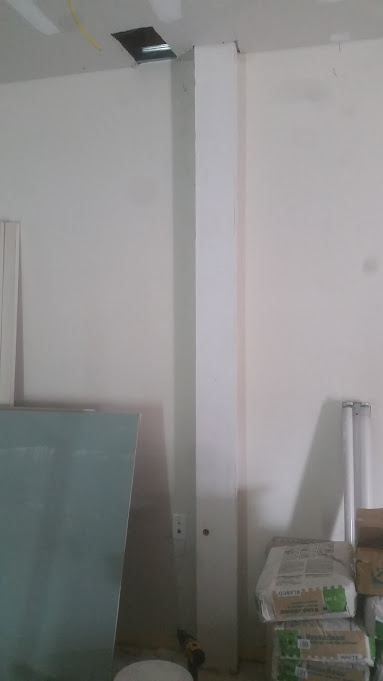
| There is a window going into this wall, so wires are run low here. |
 |
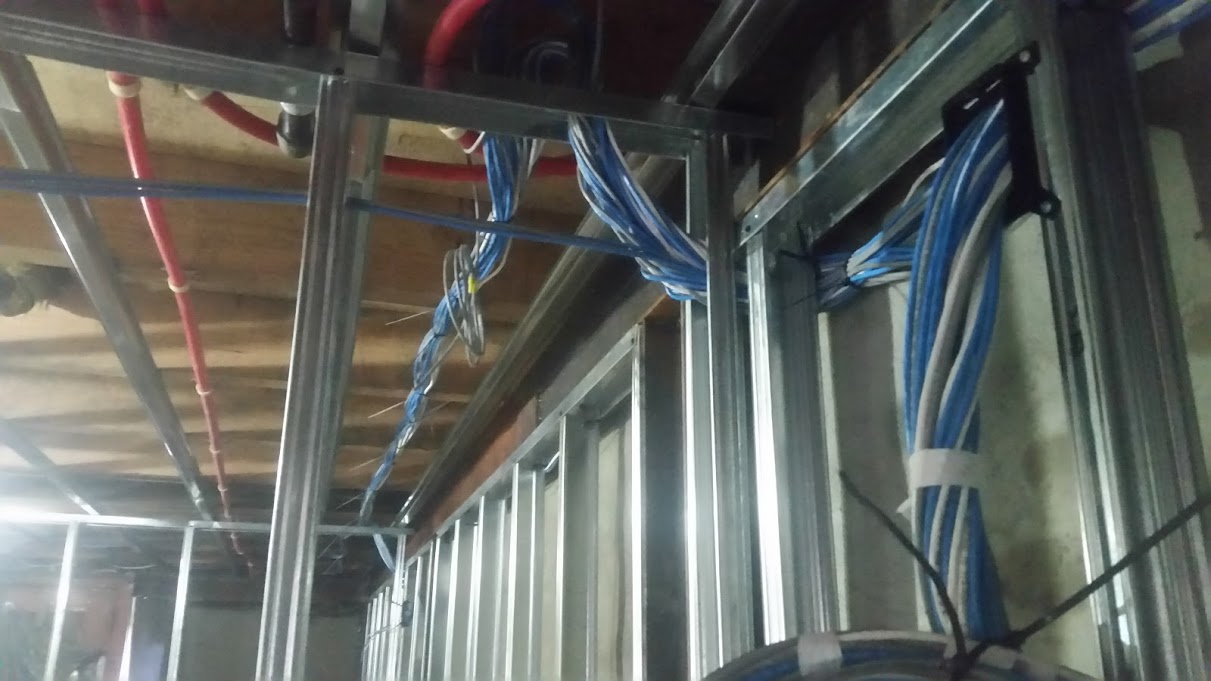
| wires strapped center of beams and going down walls. |
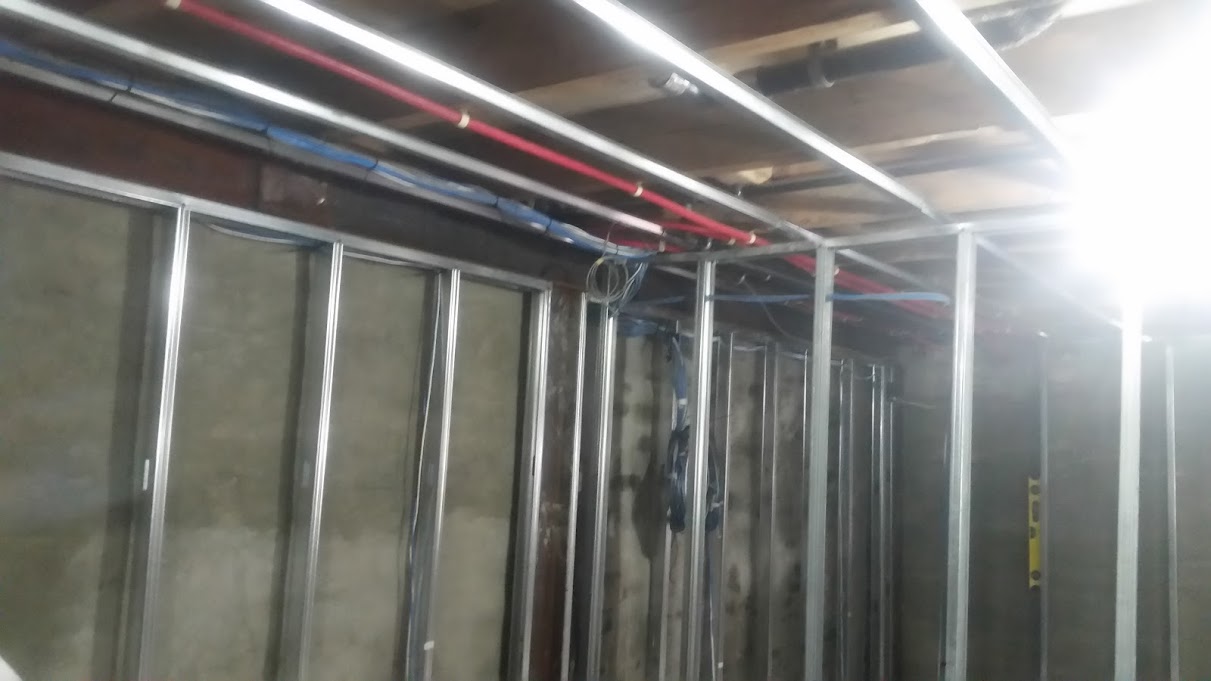 |
| wide angle of wiring run center of beams. |
 |
| strapped to beam to prevent screws from damaging wire. |
Wiring a door phone
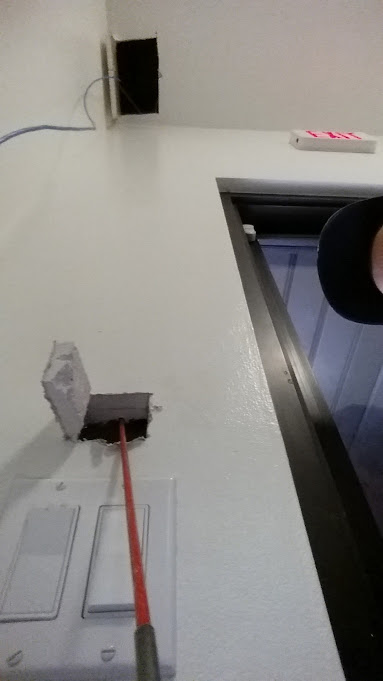 |
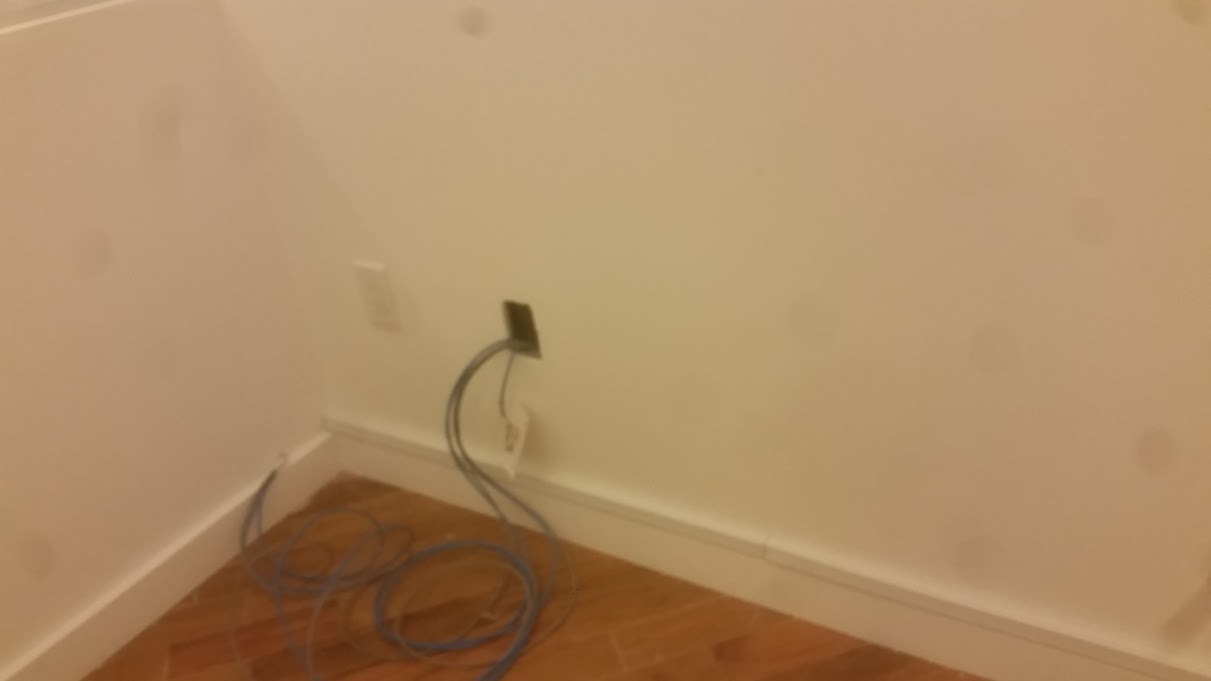
| Snaking wire from 2nd floor, down to the door phone on 1st floor. |
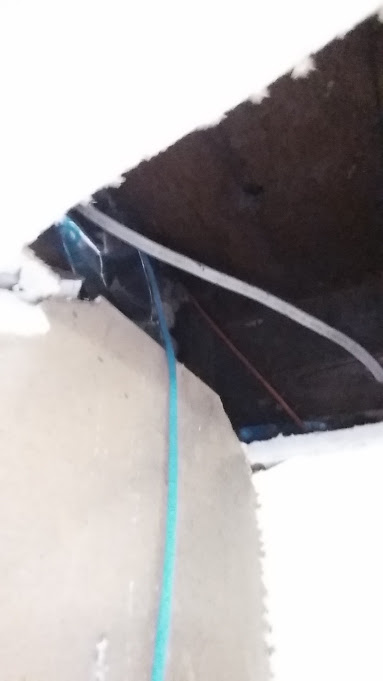 |
| I cut only 3 sides of the sheetrock, and peeled it open like a door. |
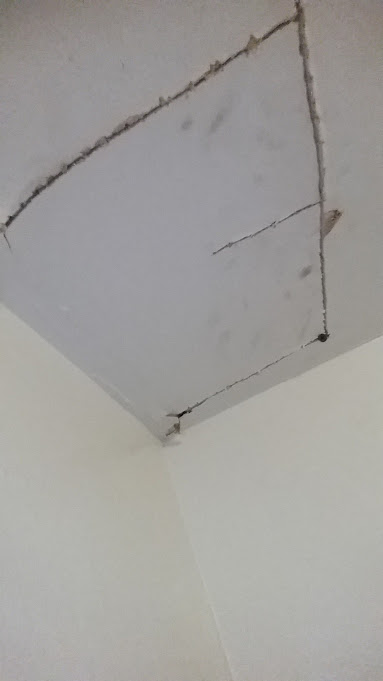 |
| Cheated in "closing" the walls by putting a screw in sideways in the corner. |
 |
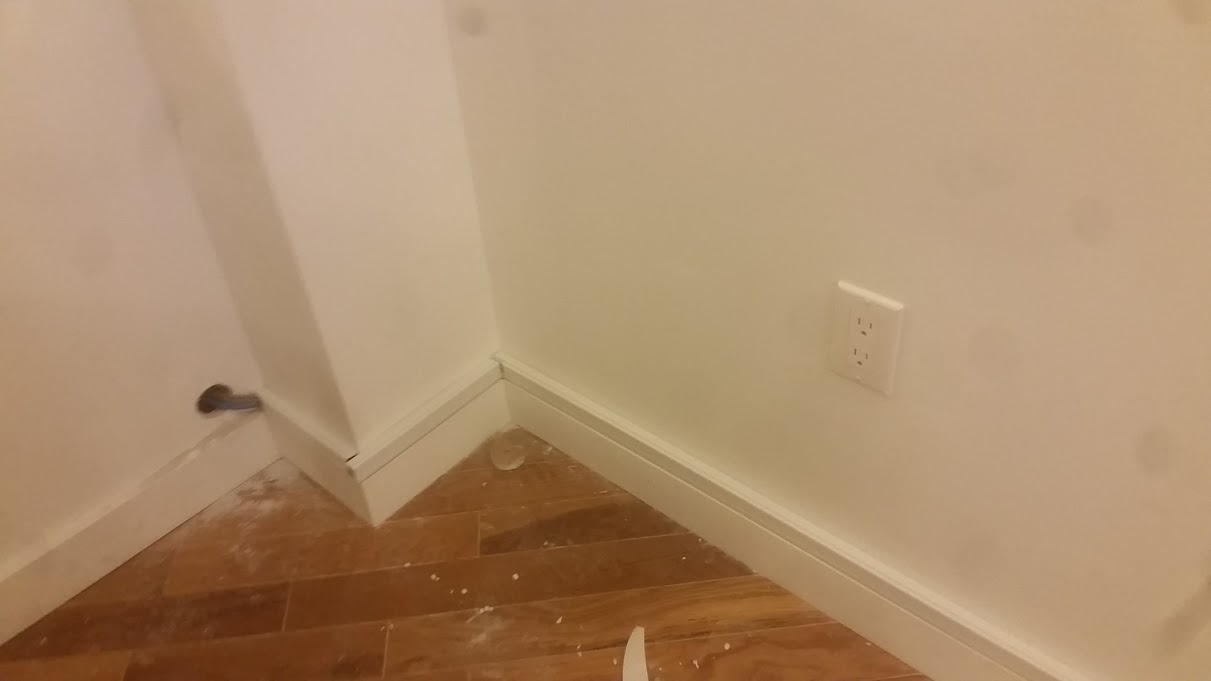
| "Closed up" sheetrock. |
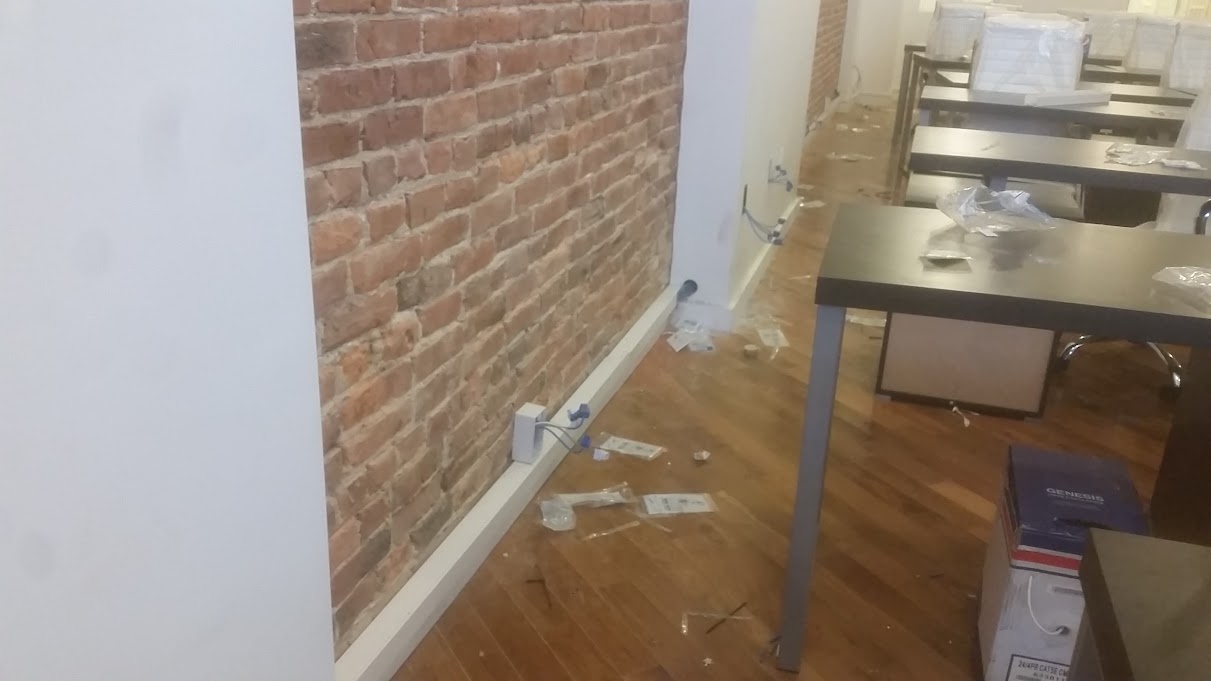
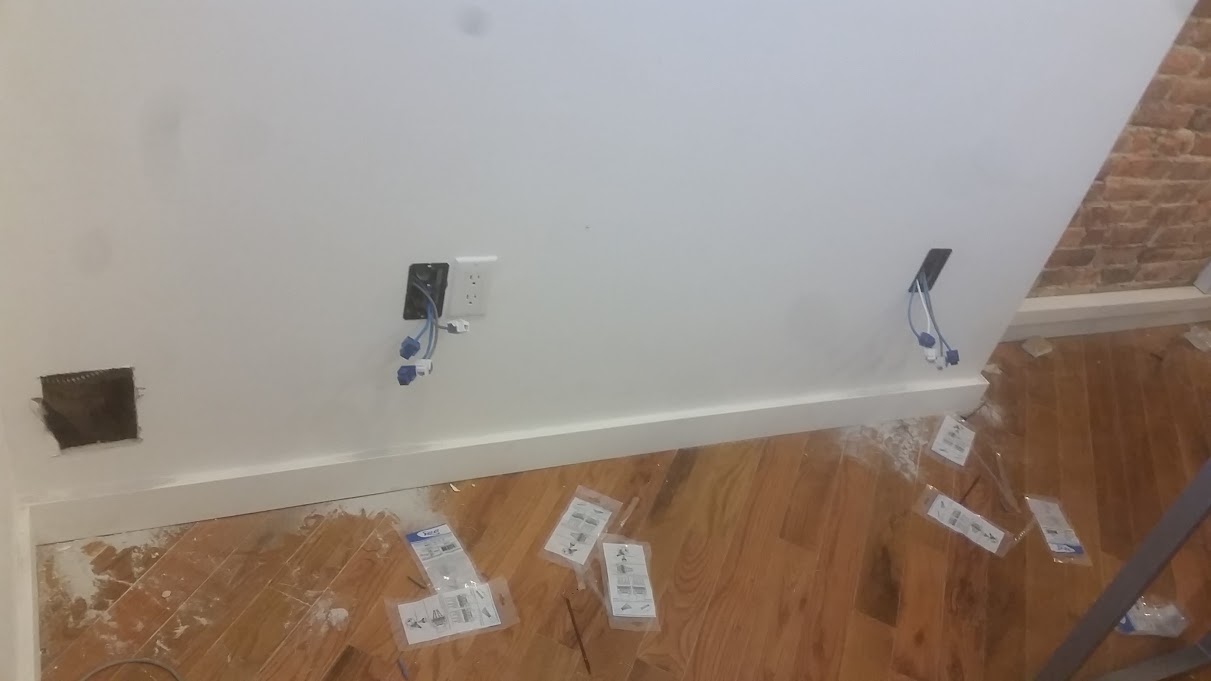
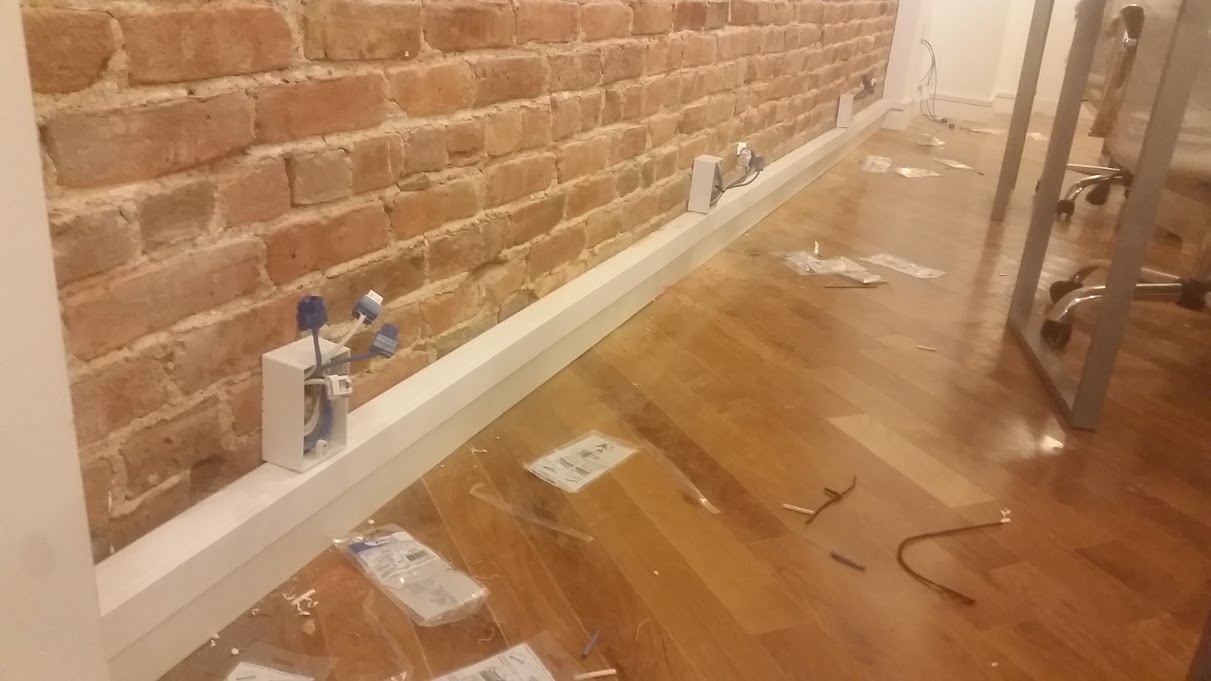
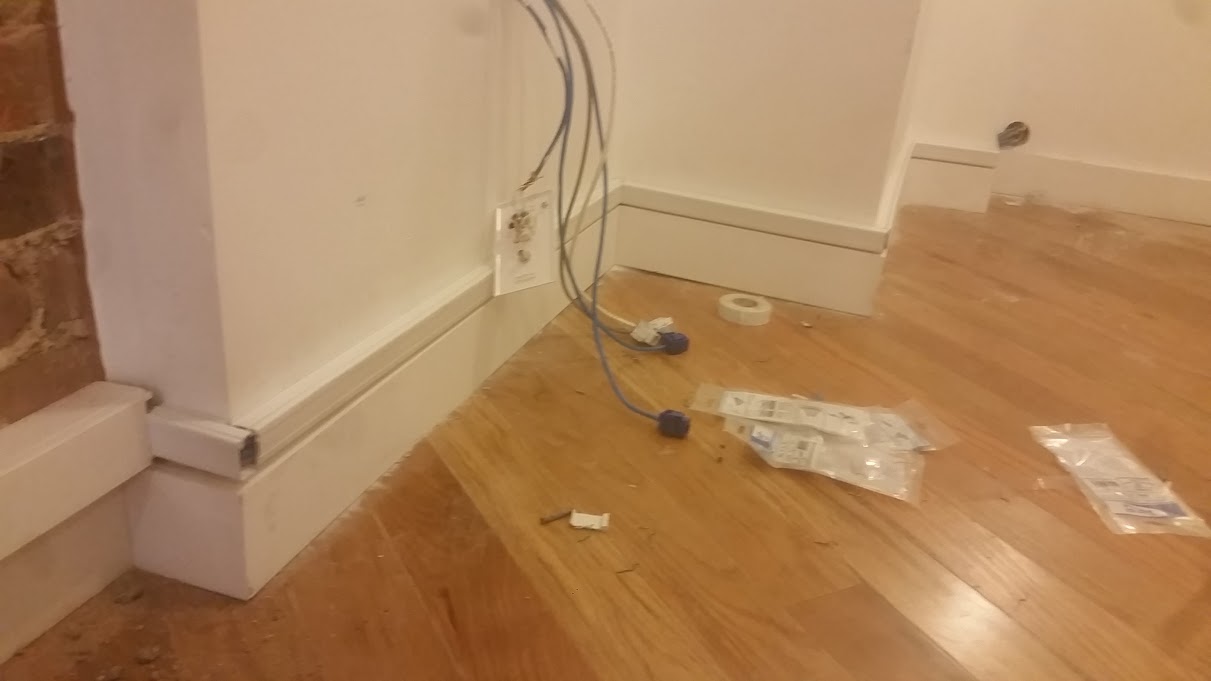
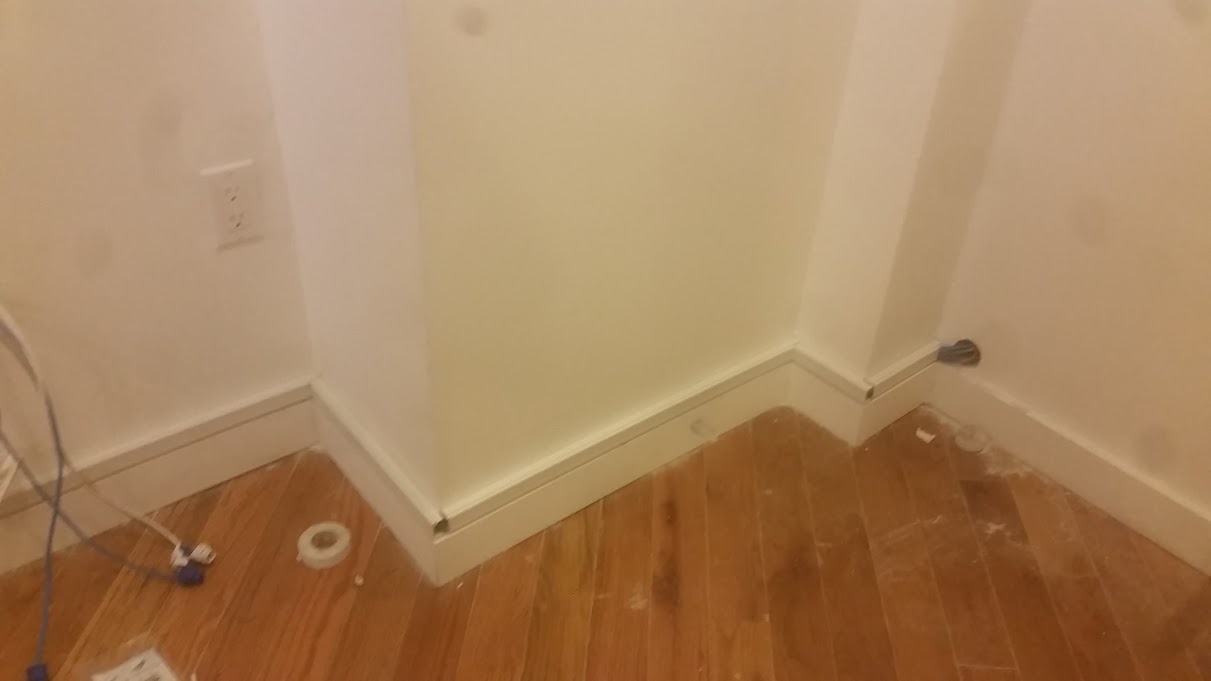
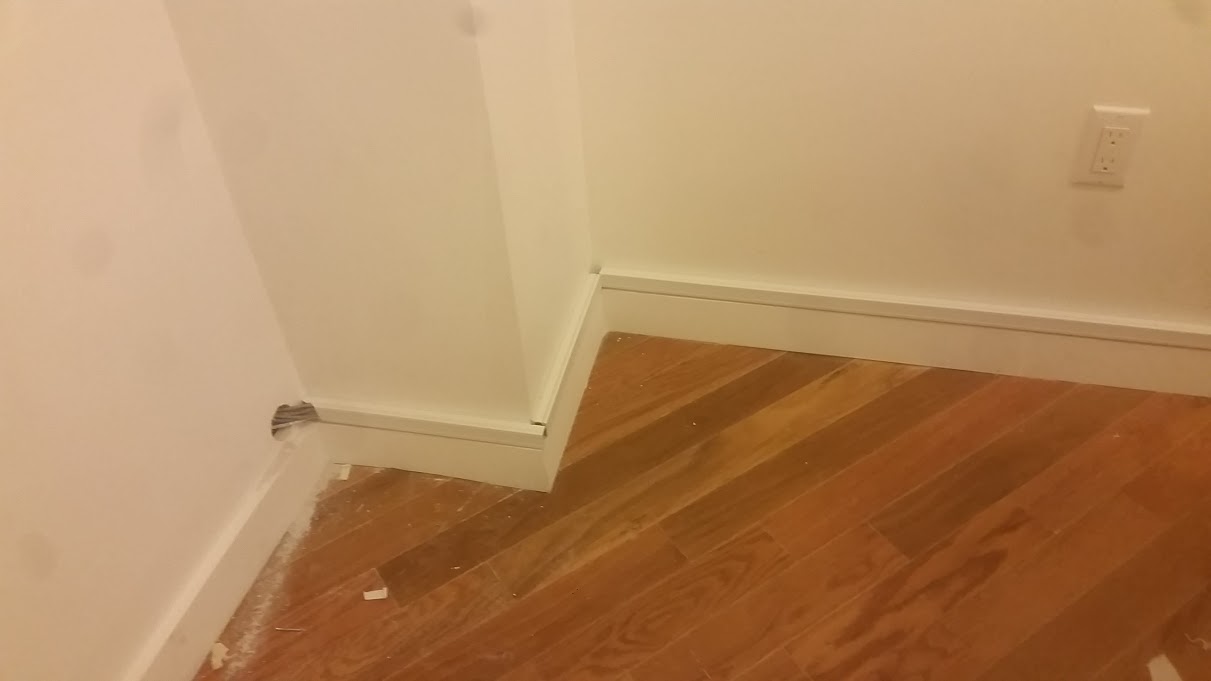
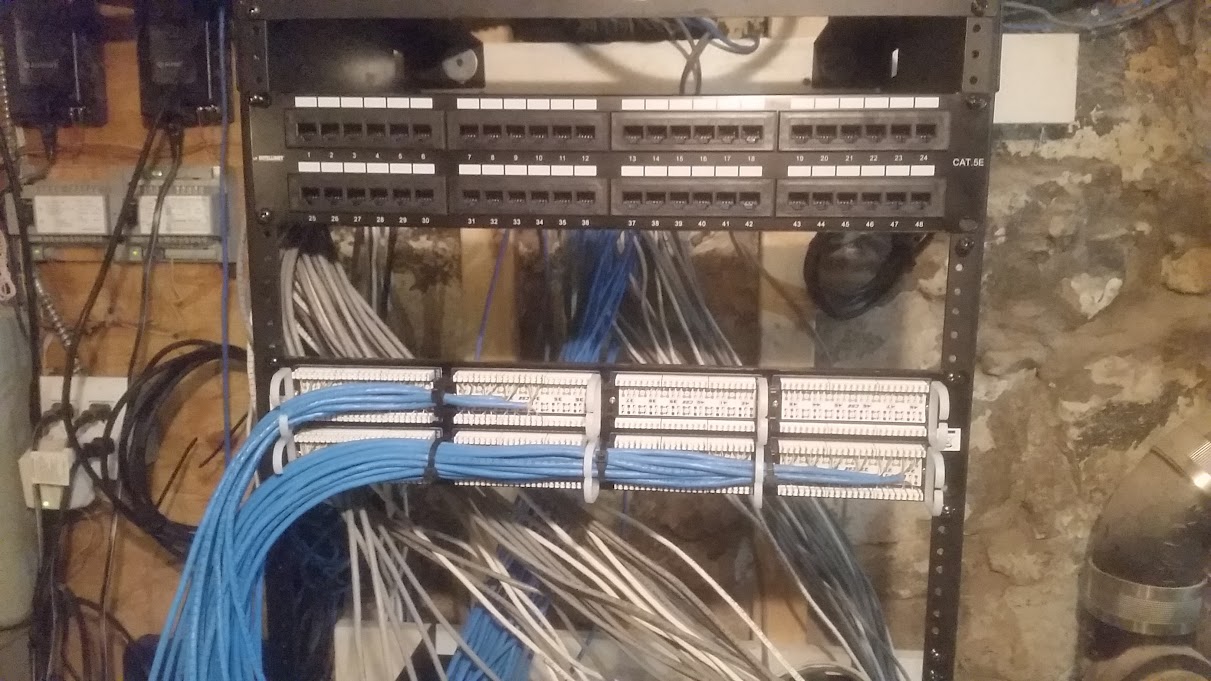
mid-sized network installation, with exposed brick.
About 65-70 CAT5 wiring/jacks install.
Had 2 guys helping on this install, Took about a week, I was called away to several service calls for 2 days while the other guys continued pulling the wiring as I planned out for them.
 |
| Punching in the patch panels. |
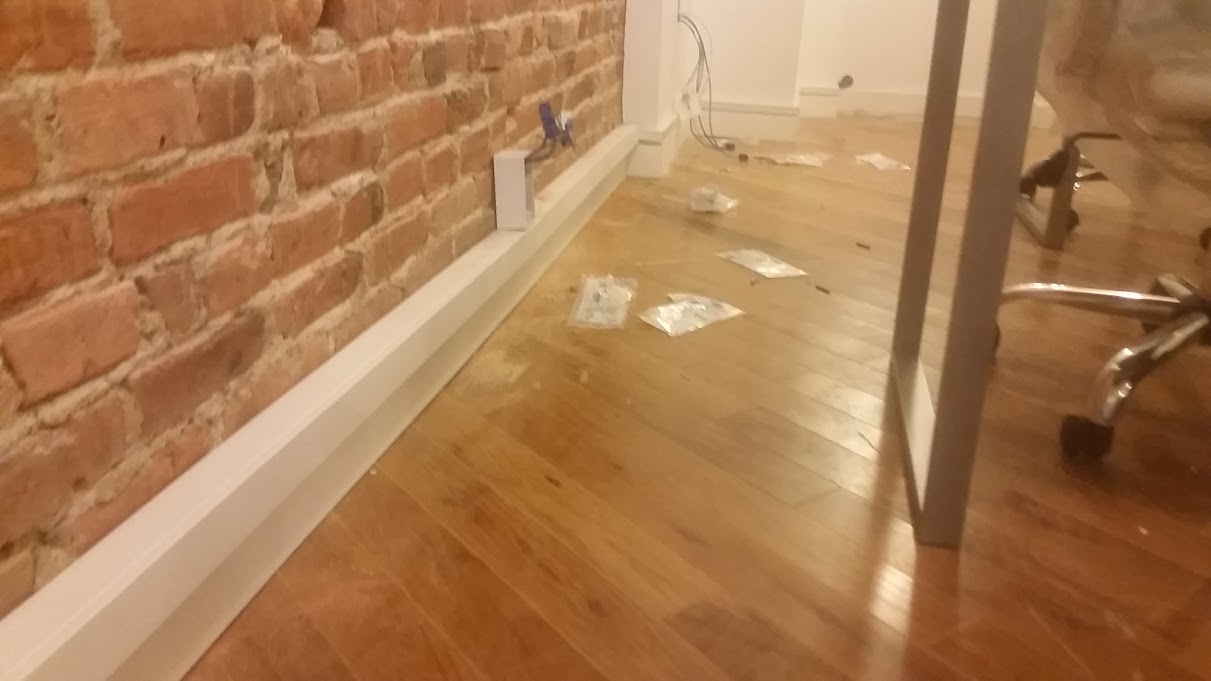
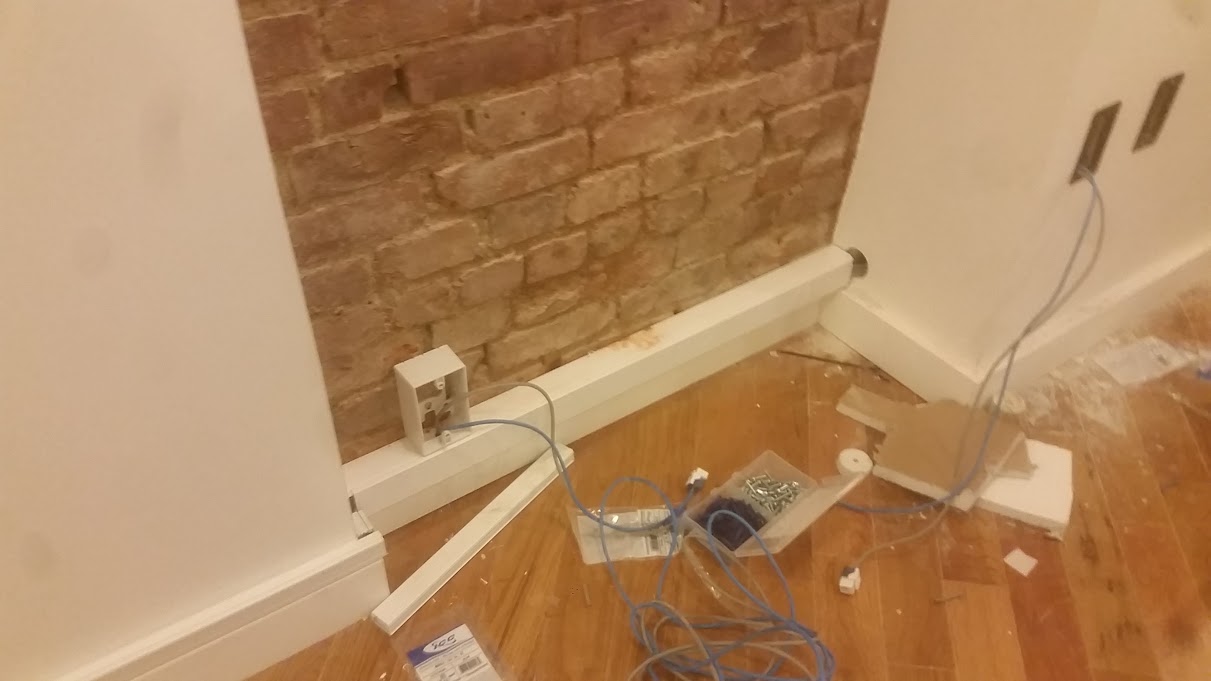
Exposed bricks, between sheetrock sections of wall required lots and lots of wire molding.
 |
| Another view punching in the panels. |
We had to plan out how to run the wiring. Originally I was going to drill down at each jack and bring the wire up from the basement. This plan however seemed like it would take too long, the final product wouldn't look as good, and would leave the wire vulnerable to being damaged by moving furniture and cleaning the floor.
 |
| Yet another view of the panels being punched in. |
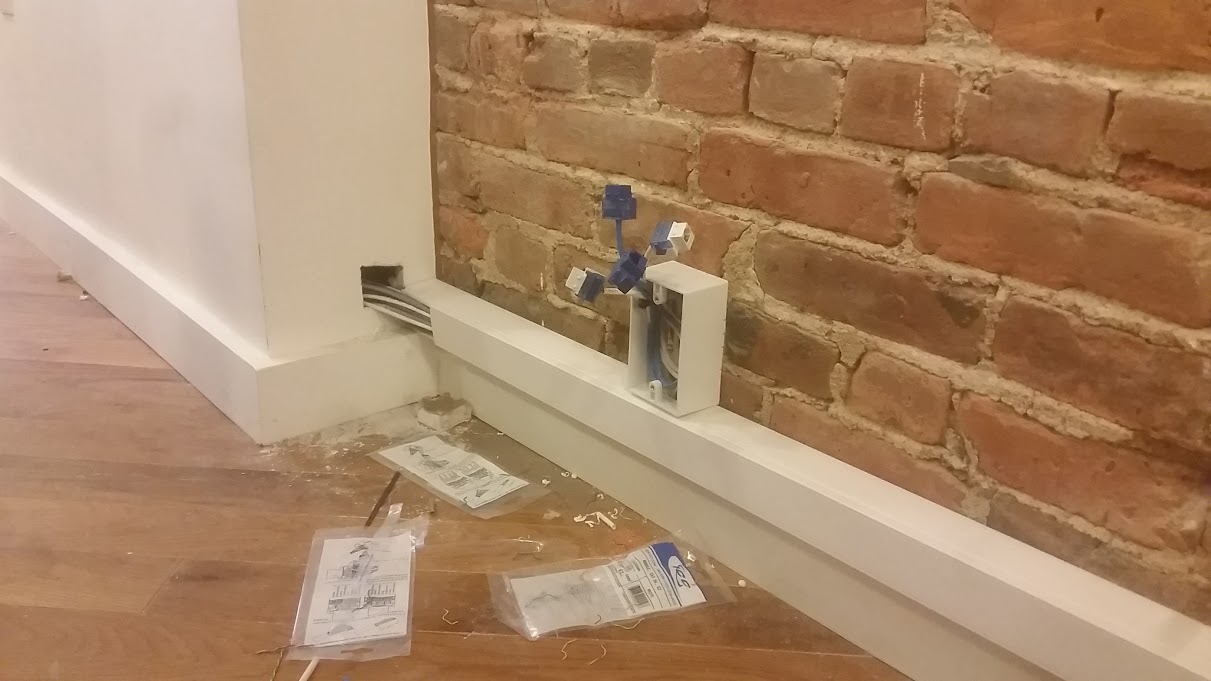
We snaked the wire downstairs to the basement where we installed the rack inside sections of the sheetrock walls and mounted wire molding basically around the entire office.
 |
| Wiremolding on exposed brick. |
 |
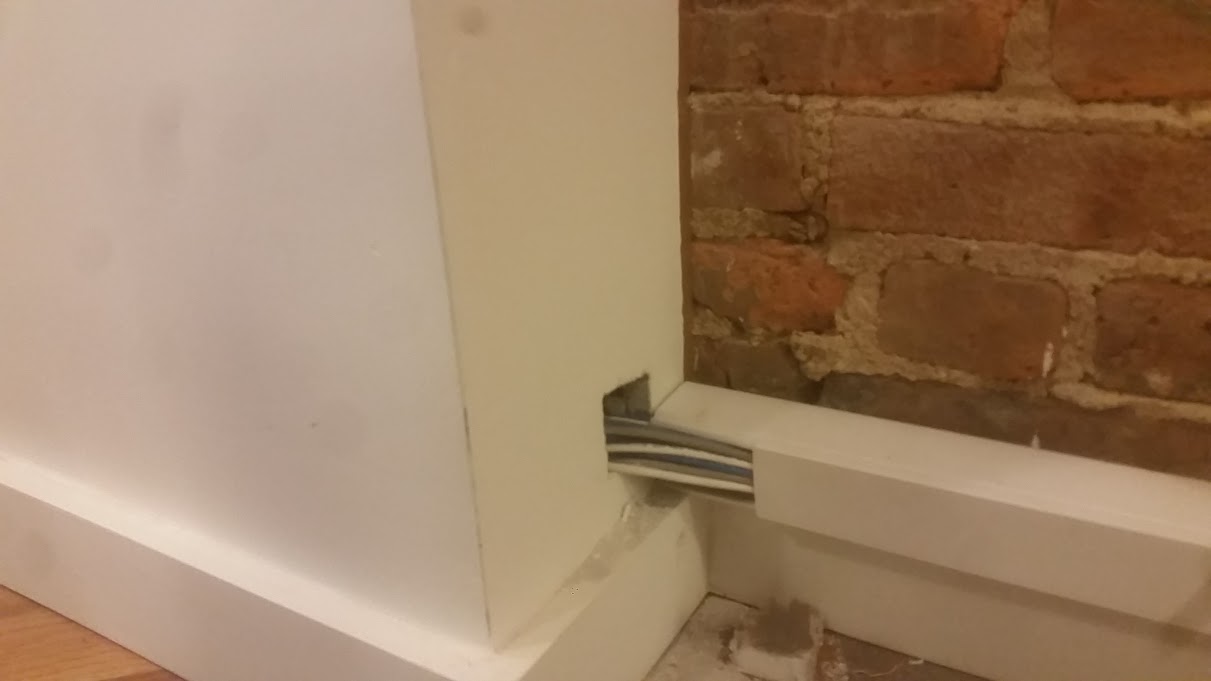
| Hole cut out to snake wire to basement and sheetrock mounted jacks. |
 |
| More wire molding |
 |
| Even more wire molding and surface mount boxes. |
 |
| Customer complained about the corners of the molding where wiring is exposed, but there is little that can be done to conceal this. This size wire molding does not have corner pieces. |
 |
| more wire molding... |
 |
| ...and more... |
 |
| Even more... |
 |
| Transition to being snaked behind walls to wire molding. |
 |
| More wire molding |
 |
| Since less wire needs to be run past this point, we dropped down to a smaller size wire molding. |
 |
| The back rooms are an addition to the building, so they had to be completed completely in wire molding. |
 |
| ...and it runs around pretty much the entire office... |
 |
| Took us almost a full day just to get the wire molding mounted/installed. |
 |
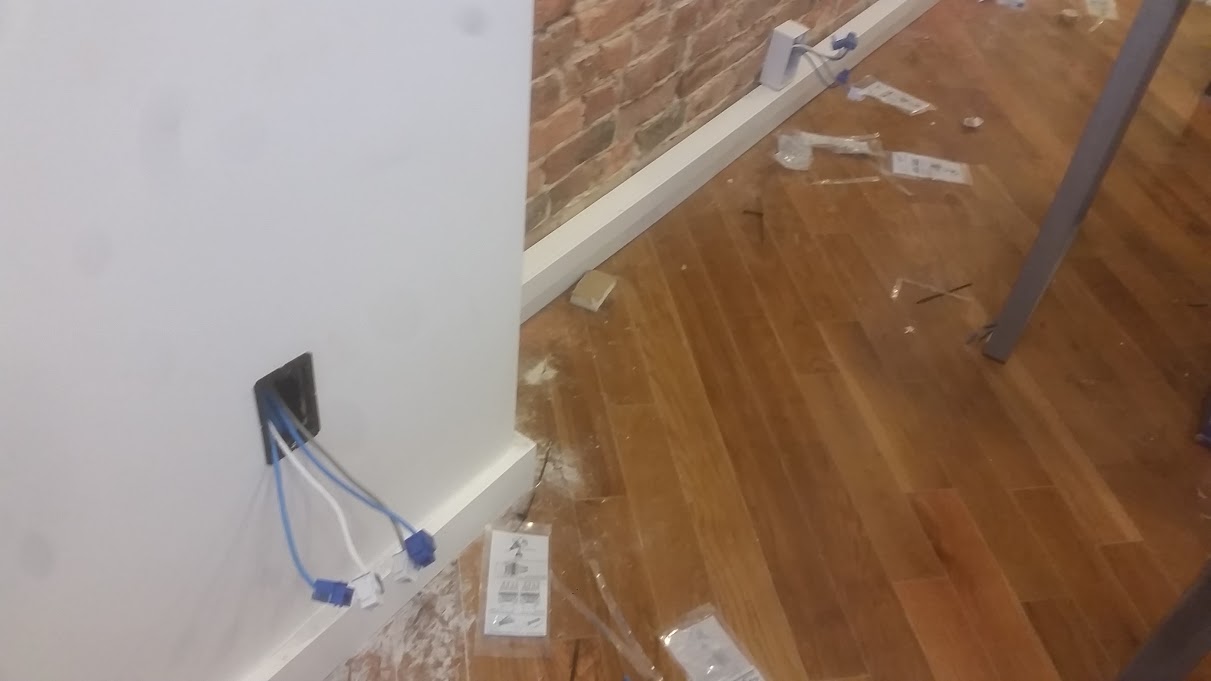
| A wall mounted jack being fed from a wire in the molding. |
 |
| Wire going into the back rooms (building extension) |
 |
| ...and coming back out on the other side of the office... |
 |
| It almost looks like it belongs here... |
 |
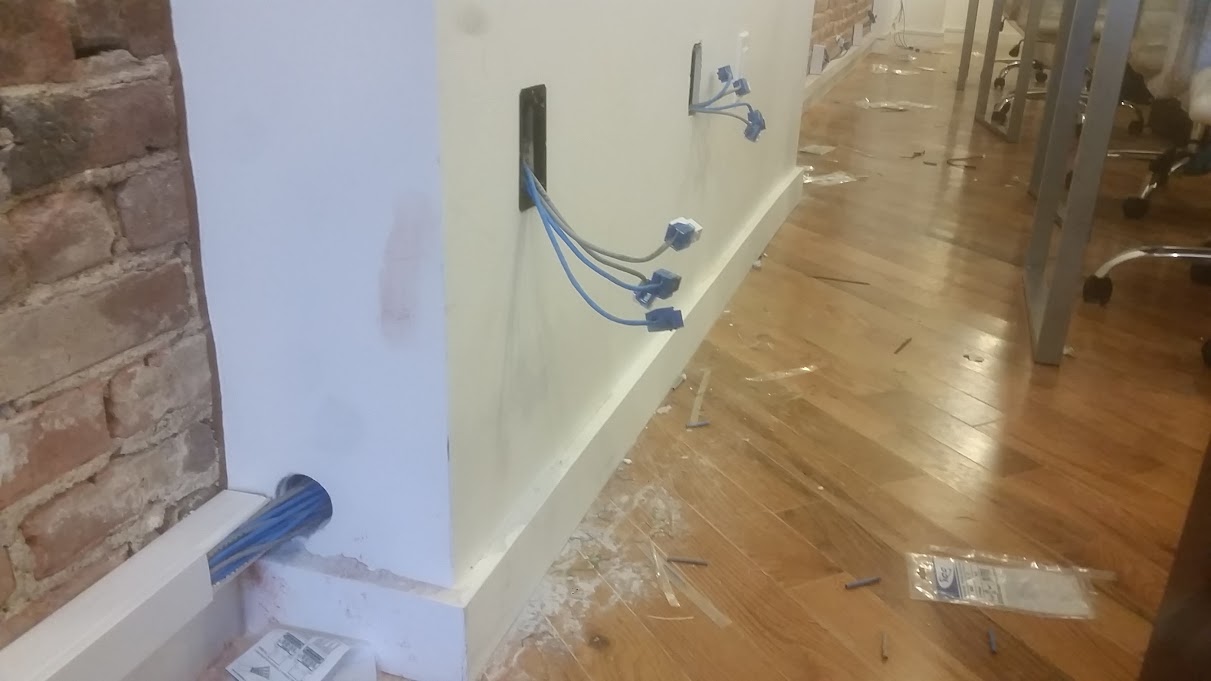
| The wall threw-up some CAT5s! |
 |
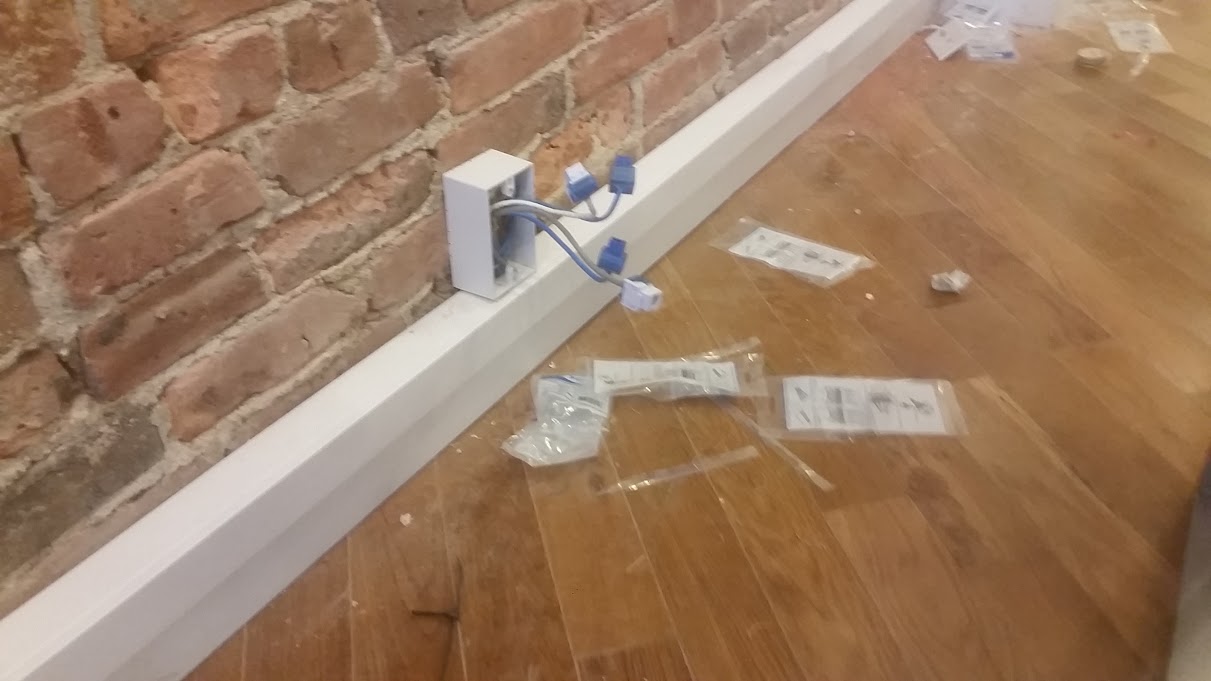
| Jack fed from the wire molding... |
 |
| Getting the wire molding around all the angles. |
 |
| More exposed brick with wire molding mounted... |
 |
| cutout holes to snake down to basement, and around pipes located inside the wall. |
 |
| That patch panel is starting to take shape now... |
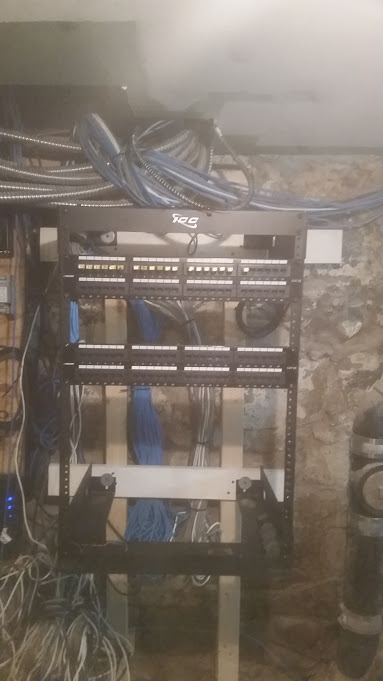 |
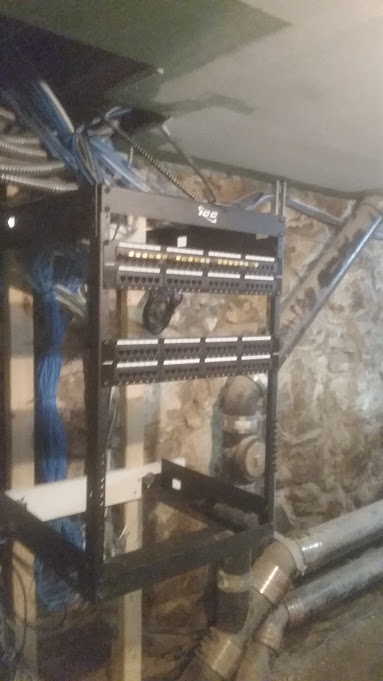
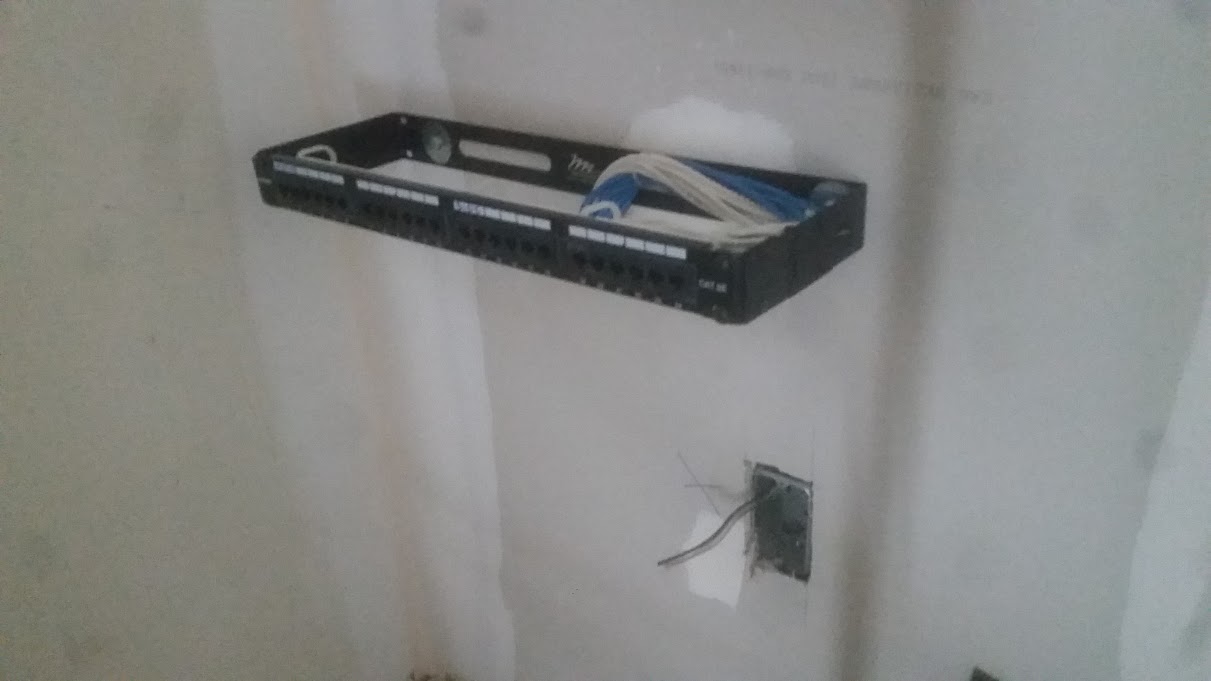
| Patch panel all punched in! |
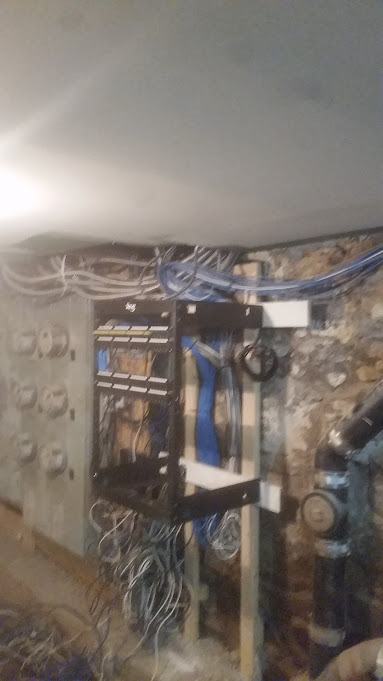 |
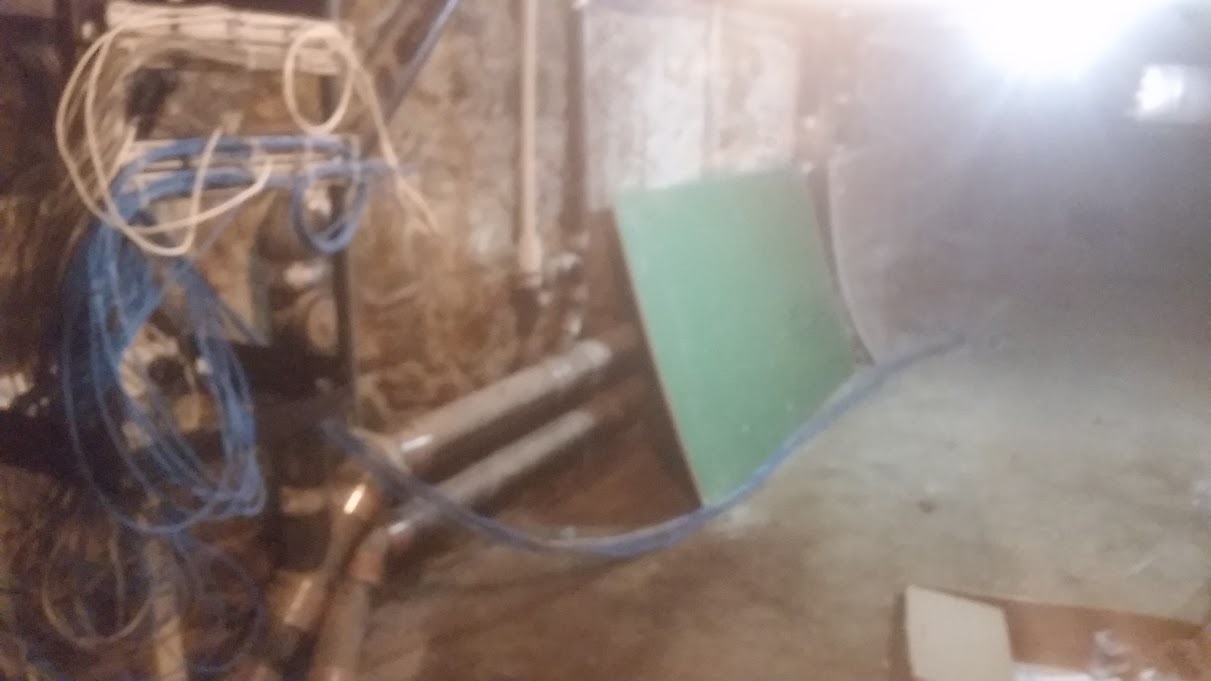
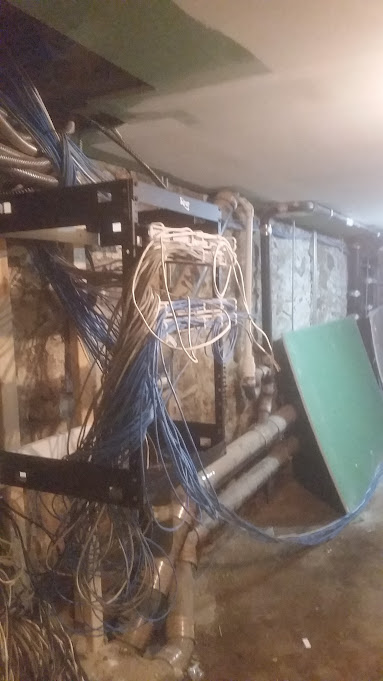
| My slack wires neatened up behind wooden frame, the mess of wires (between rack and electric meters) was existing stuff we didn't touch. |
 |
| Got the wiremap remotes plugged in to label/number the jacks. |
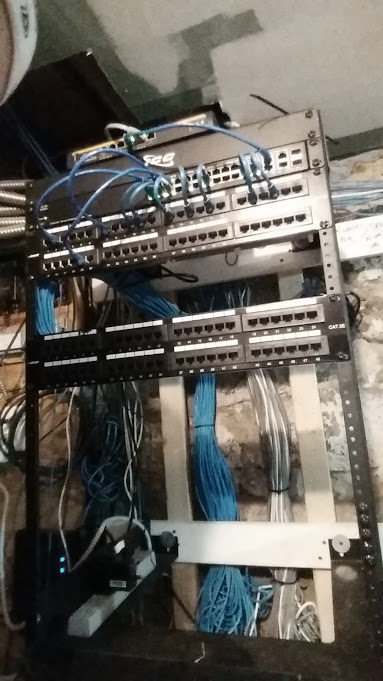 |
| Installed dual WAN router 24 port Cisco PoE switch and patched in all jacks that are currently in use. |
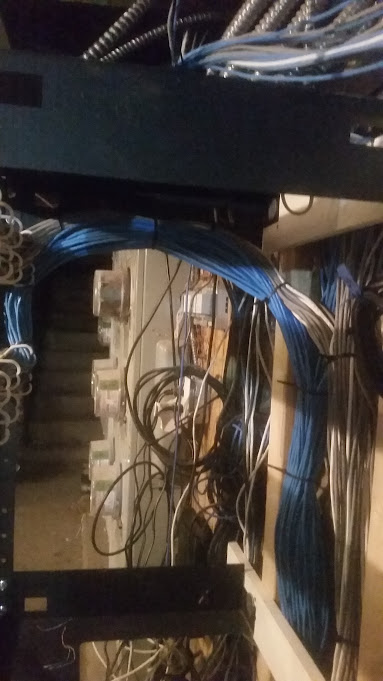 |
| Another view of my slack neatly strapped up. |
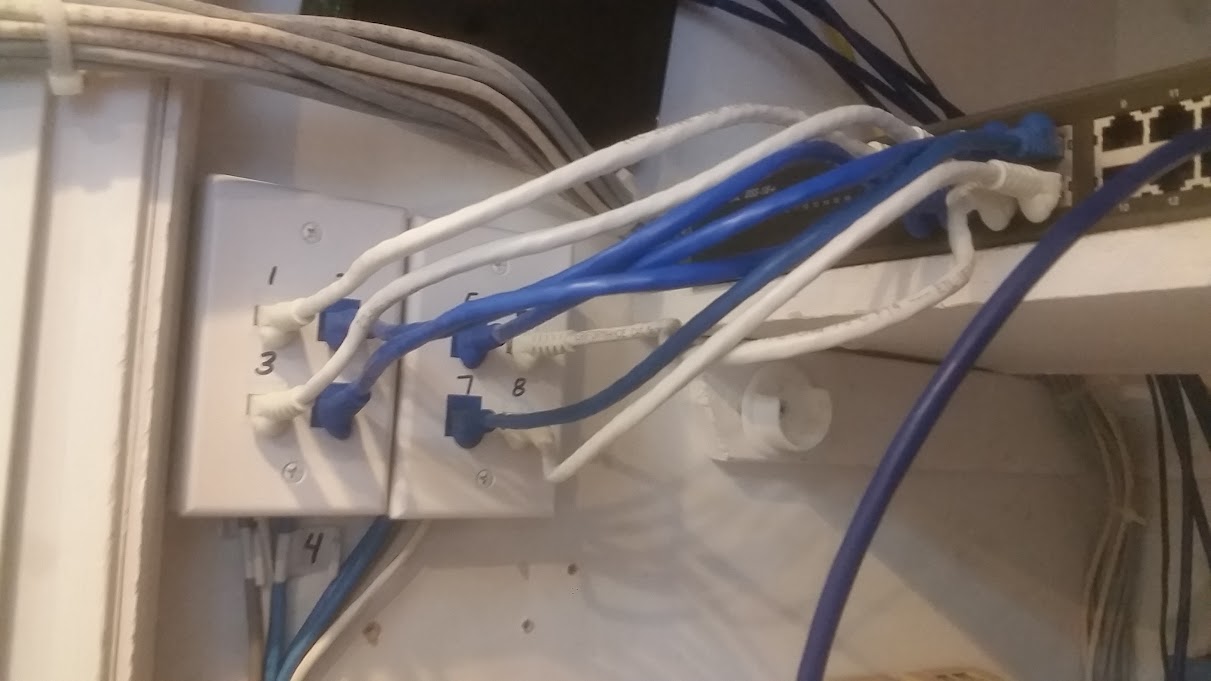
8 jack network, patched in.
My co-workers pulled all the cables inside this office, and strapped them to the existing surface mounted wiring. I installed surface mount boxes and patched everything in to the switch.
 |
| Quick surface mounted network. |
Patched in network, dual WAN router and PoE switch.
Someone else wired up the office, and installed the rack. I just installed the router, PoE switch and patched everything in.
 |
| Patched in VoIP network |
 |
| Peplink dual WAN router, and Cisco 16 port PoE switch |
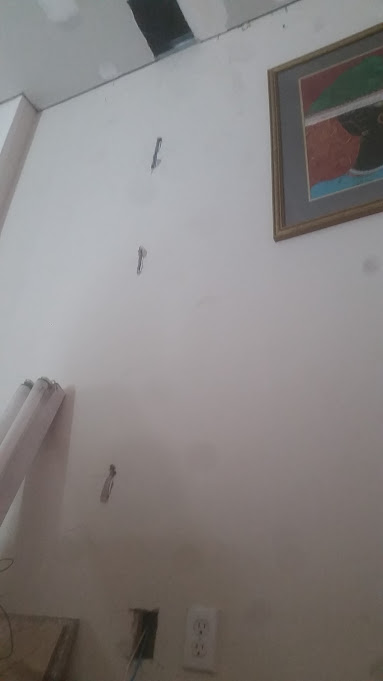
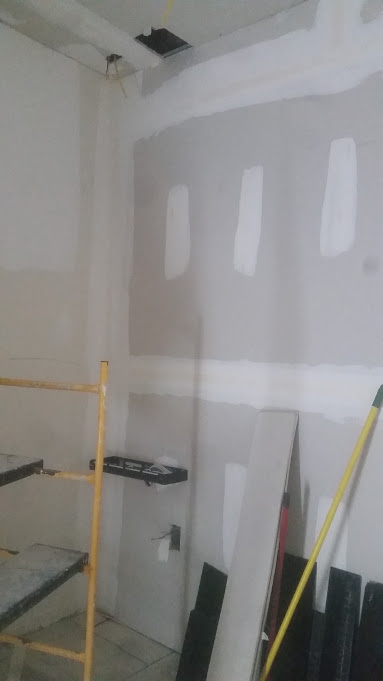
Small network install, sheetrock over plywood.
So I was dispatched to this "small" installation of about 10 double cat5 runs (20 wires/jacks)
 |
| There were numerous cross beams I had to channel around. |
It should have been completed within a single day, especially the first day I was at this job I had assistance.
 |
| The entire office had half inch paneling underneath the sheetrock. |
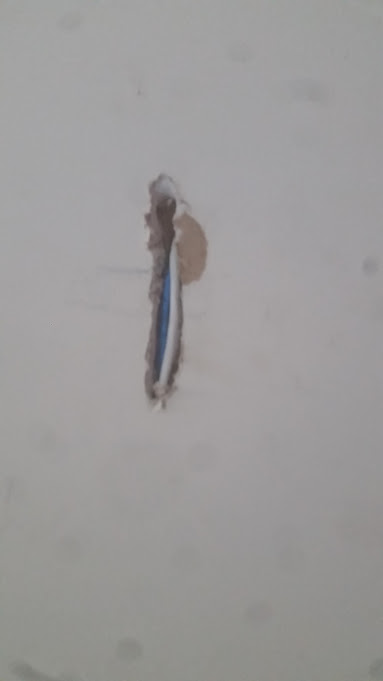
The problem was that behind the sheetrock walls there was half inch solid wood paneling. I had to use my sawzall to cut open every single jack opening to snake the wires thru and connect the jacks.
 |
| Close up of channeling around a cross beam. |
Not only was there solid wood paneling directly behind the sheetrock, but because of this there was many cross beams that I had to channel around to get the wire down the wall.
 |
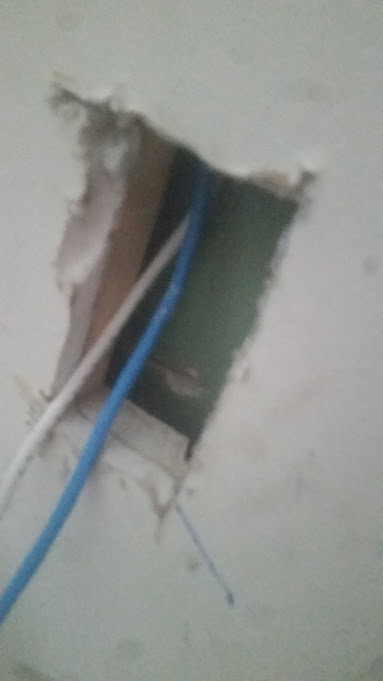
| Used pipe chase to snake the wire to this jack. Hole cut to snake it behind paneling over to jack. |
There was a pipe chase that I was able to snake wires down for one of the jacks, saving me from having to channel around 3 cross beams, I instead just had to cut a hole in the chase to snake the wire down, then across to the jack opening.
 |
| Ceilings had to be open for wire to be snaked down pipe chase. |
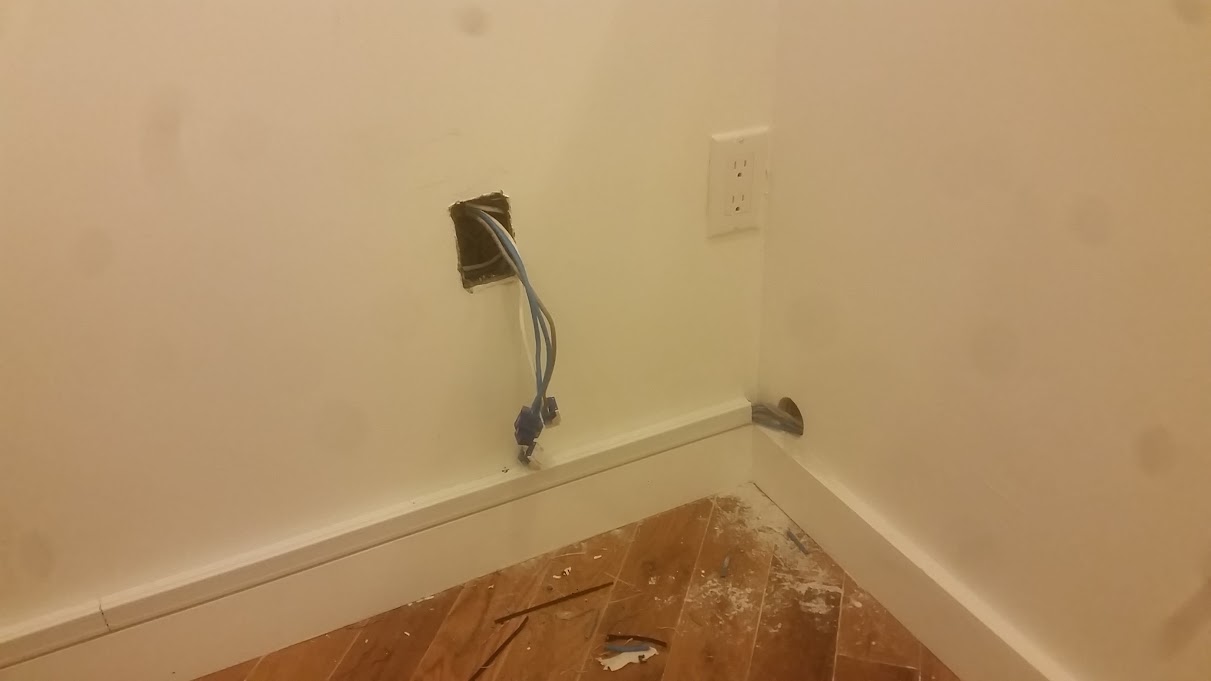
Finally, one jack was on the wall directly behind the staircase going upstairs. I spent nearly 2 hours trying to open the plaster behind the sheetrock, and get a snake up or down this wall, but the beam for the staircase just wouldn't allow me to get down inside this wall.
 |
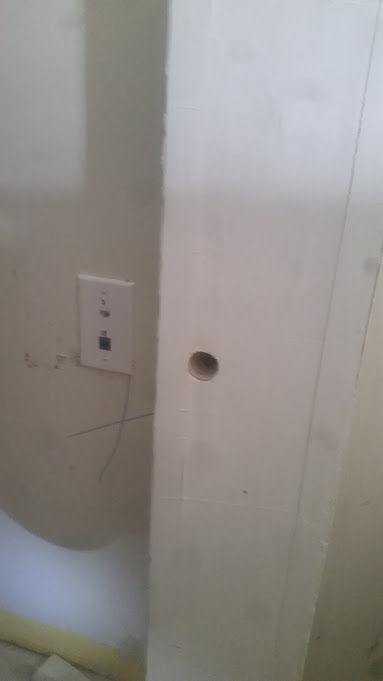
| Wide angle of required wall openings. |
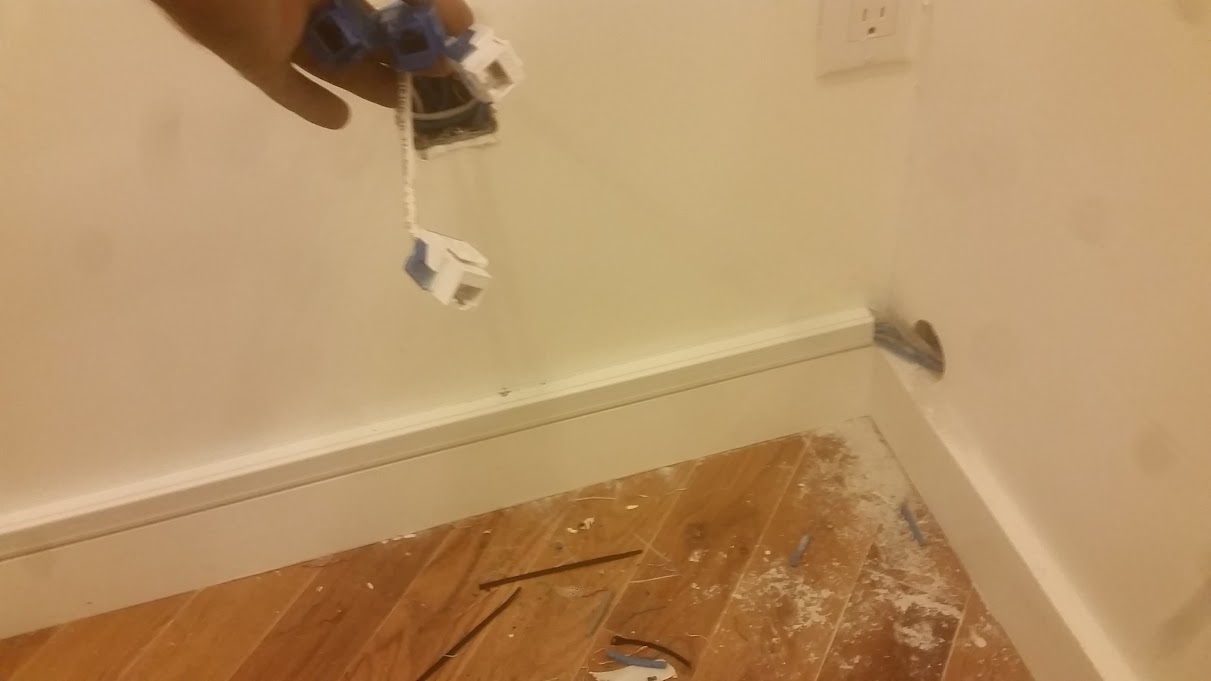
The only option was surface mounting the wire. Luckily behind this jack was the staircase for the basement, so the wire molding that I ended up having to install is pretty much hidden from daily view.
 |
| I tried for hours to snake down this wall, unfortunately because of the staircase beam it was impossible, so wiremolding was used. |
Finally I installed the patch panel and bracket low to the ground because the customer wanted to put in a cabinet to cover/hide it.
 |
| You can hardly see where the wire goes into the ceiling, or comes in thru the wall. |
I would have prefered to install a rack, but then again, I always prefer to install a rack. It keeps things neat and organized, and just looks much more professional. But for some of these smaller installations it is difficult for the customer to justify the extra expense or space for installing a rack.
 |
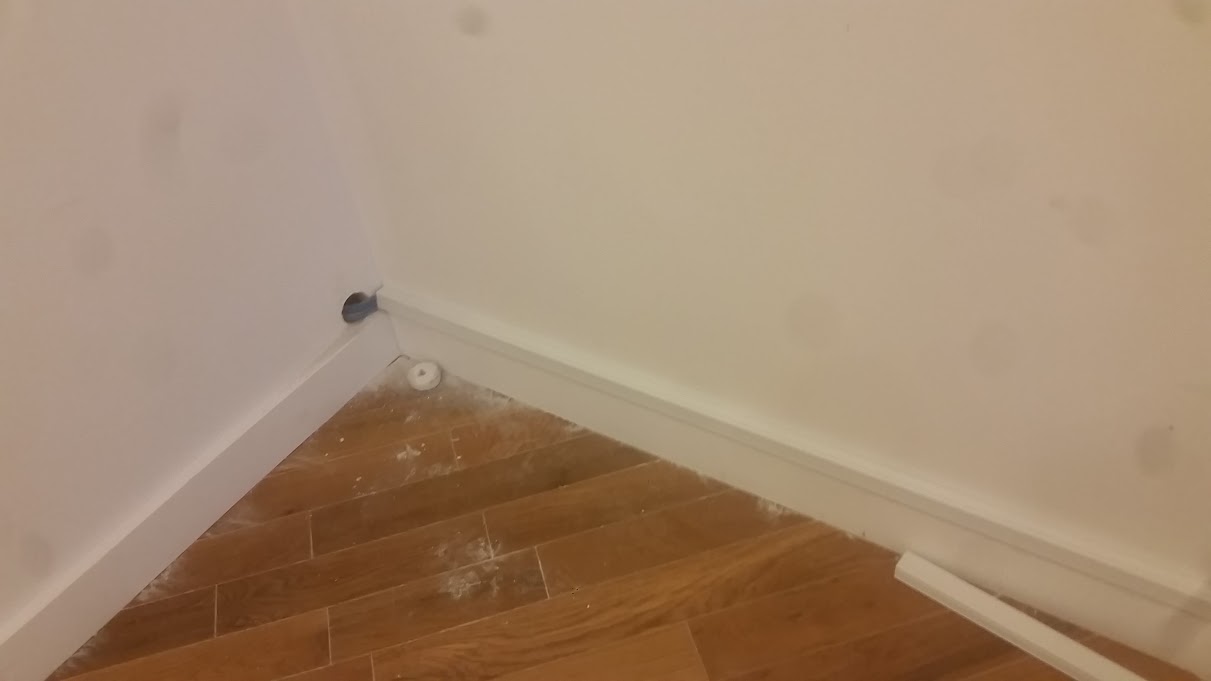
| Close up of wire molding going to ceiling. |
 |
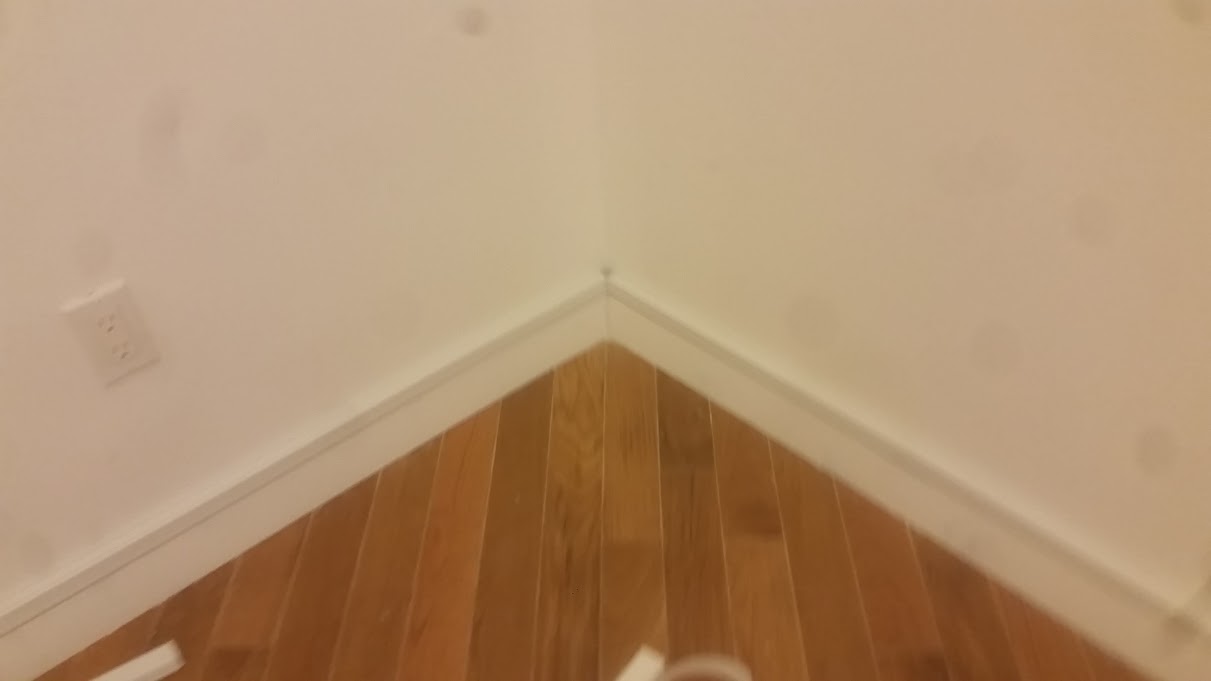
| Close up of wire molding at bottom, opposite side of wall as jack. |
 |
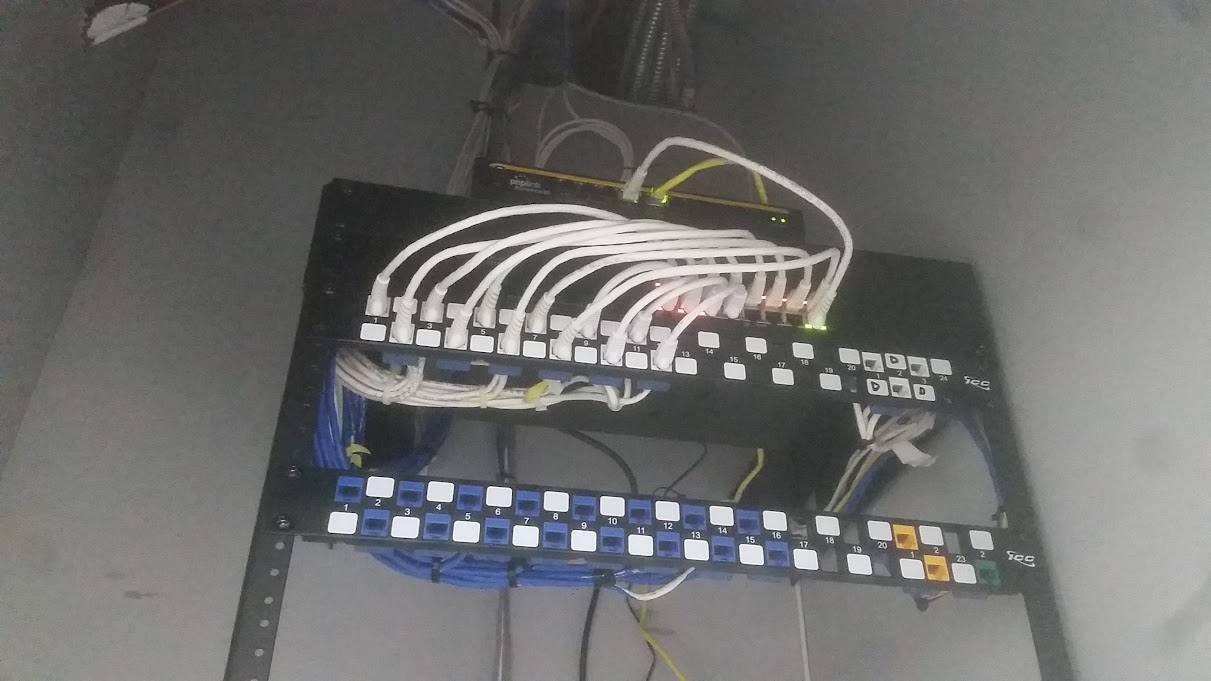
| 24 port patch panel. |
 |
| Wide angle of patch panel. |
Subscribe to:
Posts (Atom)