Instagram is always the fastest way to view images of recently completed jobs and projects.
The website is generally updated in bulk with several in progress or completed jobs time permitting, but is the best place to view in details information pertaining to each featured job.
I am considering updating the entire layout of the website, but do not currently have the time to do so. Things that I am considering for the update is to go back to a two row visual for the website instead of the three row layout that it currently is. I am also considering breaking up the Job Photo Archive page into multiple pages based on categories, such as prewire jobs, complete network/racks, and before/after clean up jobs.
STAY TUNED...
(this will probably not occur until October/November time permitting)

Wednesday, September 23, 2015
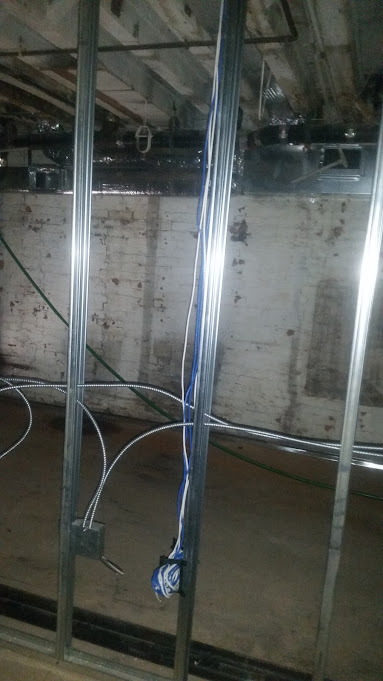
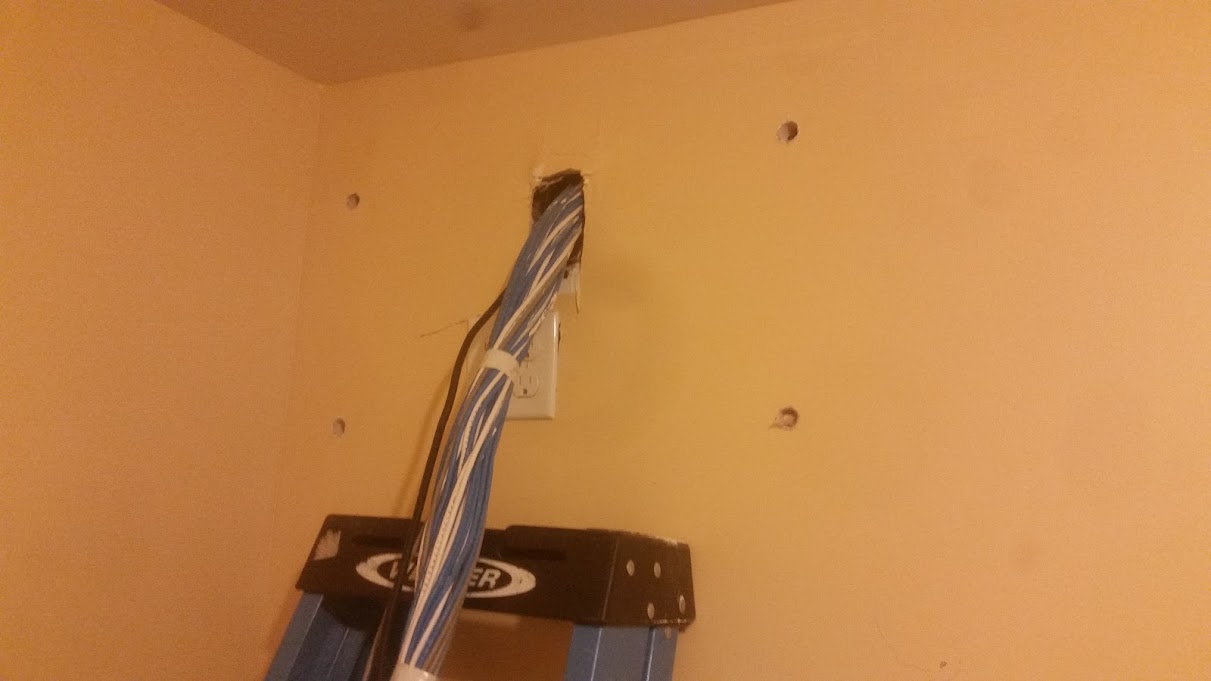
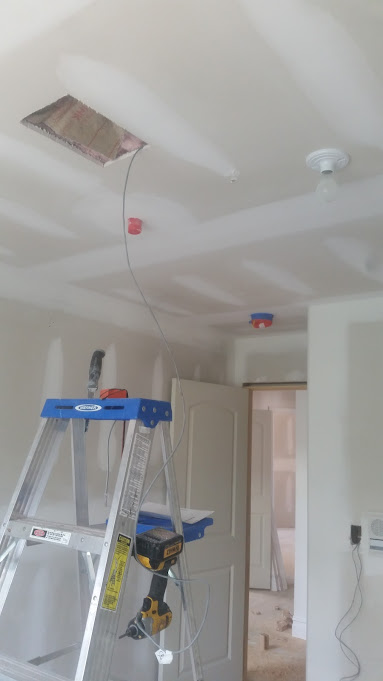
Another prewire, aprox 65 wires...
Basic prewire job, about 65 wires, took 3 of us (1 his first day on the job) about 4 or 5 hours to pull everything, and an additional 1 to 2 hours for me to strap everything up neatly the following day.
 |
| Wires ready in network room |
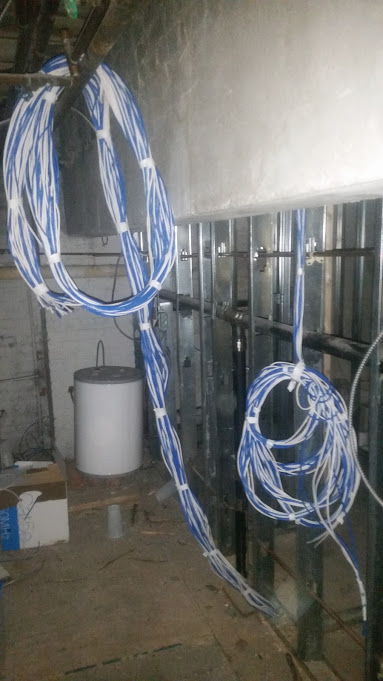 |
| Wires ready in network room |
 |
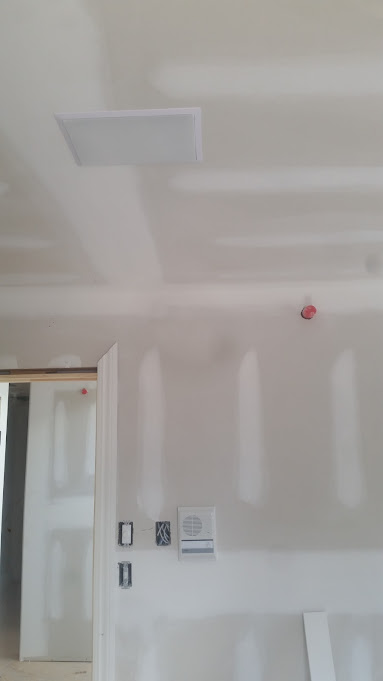
| Wires run above ceiling |
 |
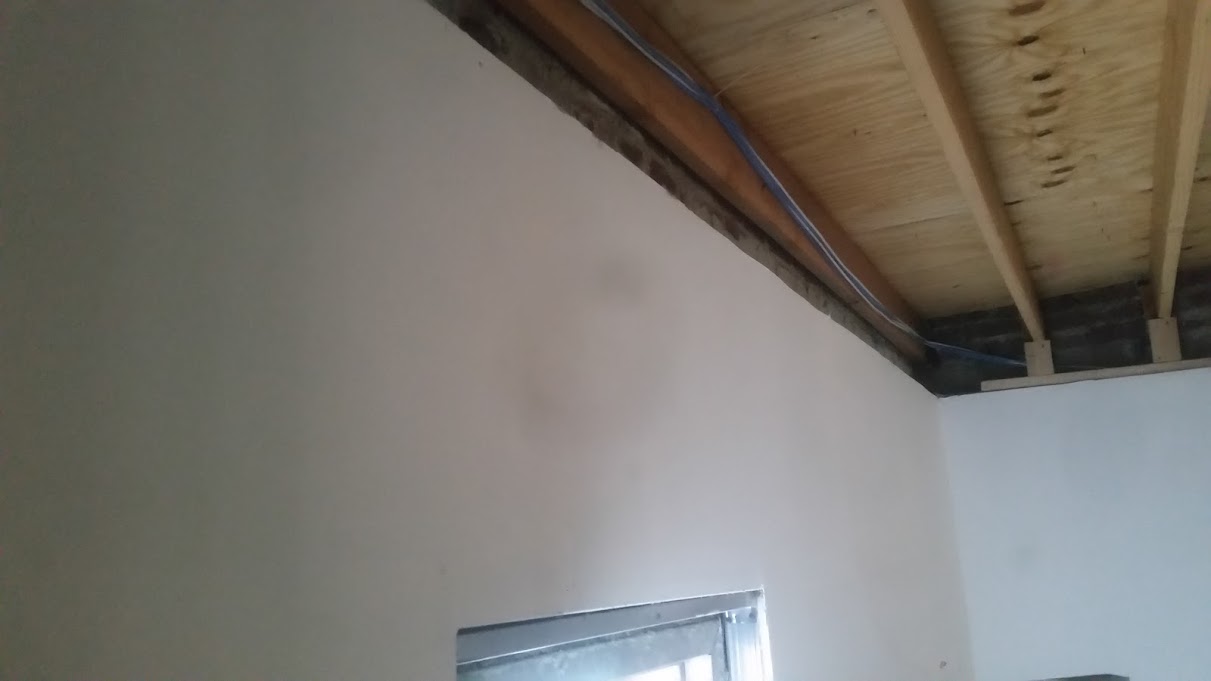
| Wires run between beams |
 |
| Wires run across ceiling. |
 |
| Jacks prewired |
 |
| Wiring going upstairs to network room |
 |
| Wiring run across ceiling |
 |
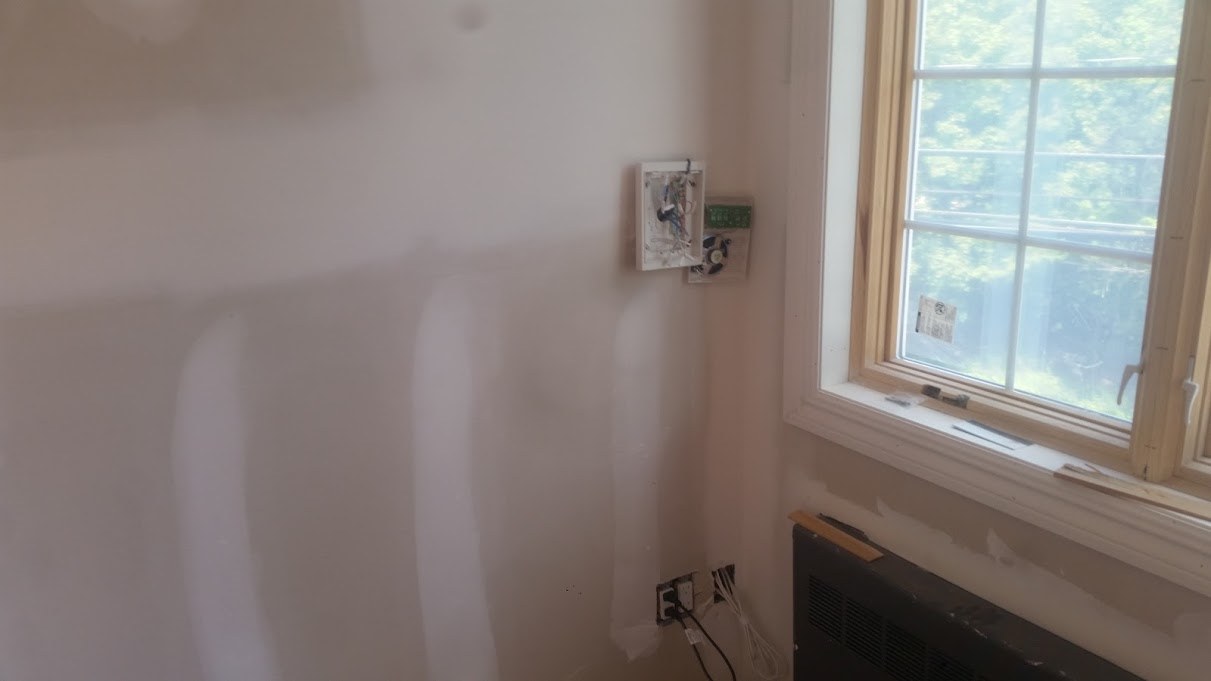
| Dropped down for doorphone. |
 |
| Wires strapped above beams |
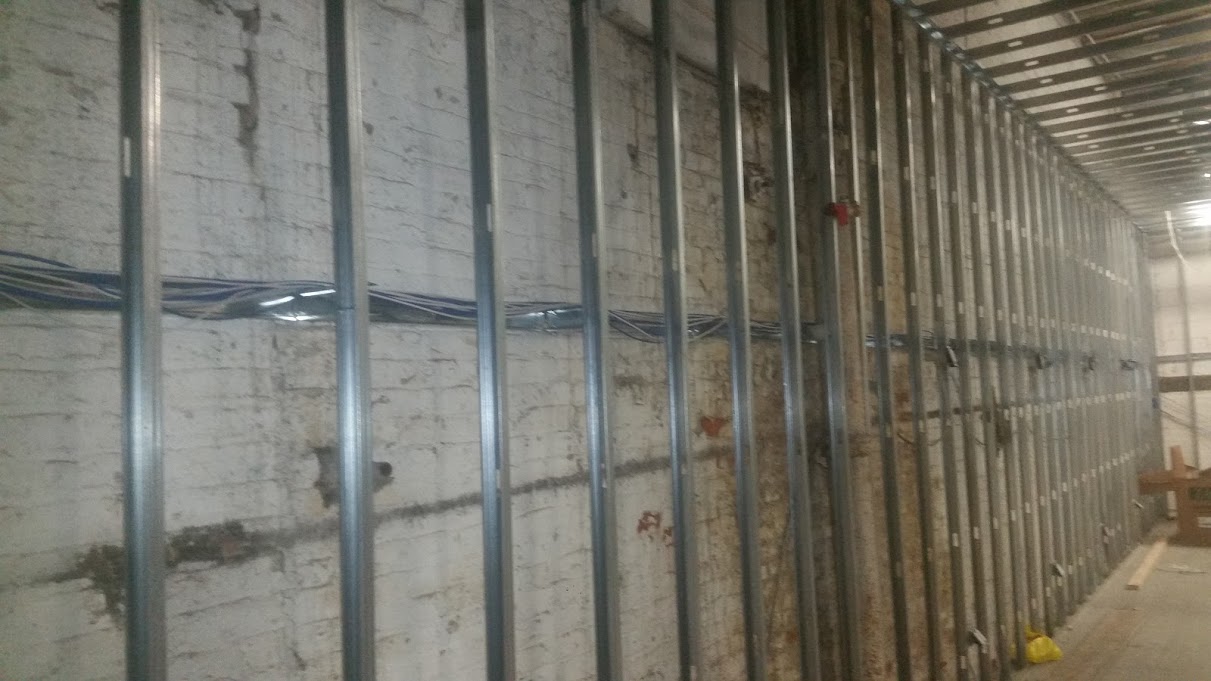 |
| Wiring run across main room behind beams. |
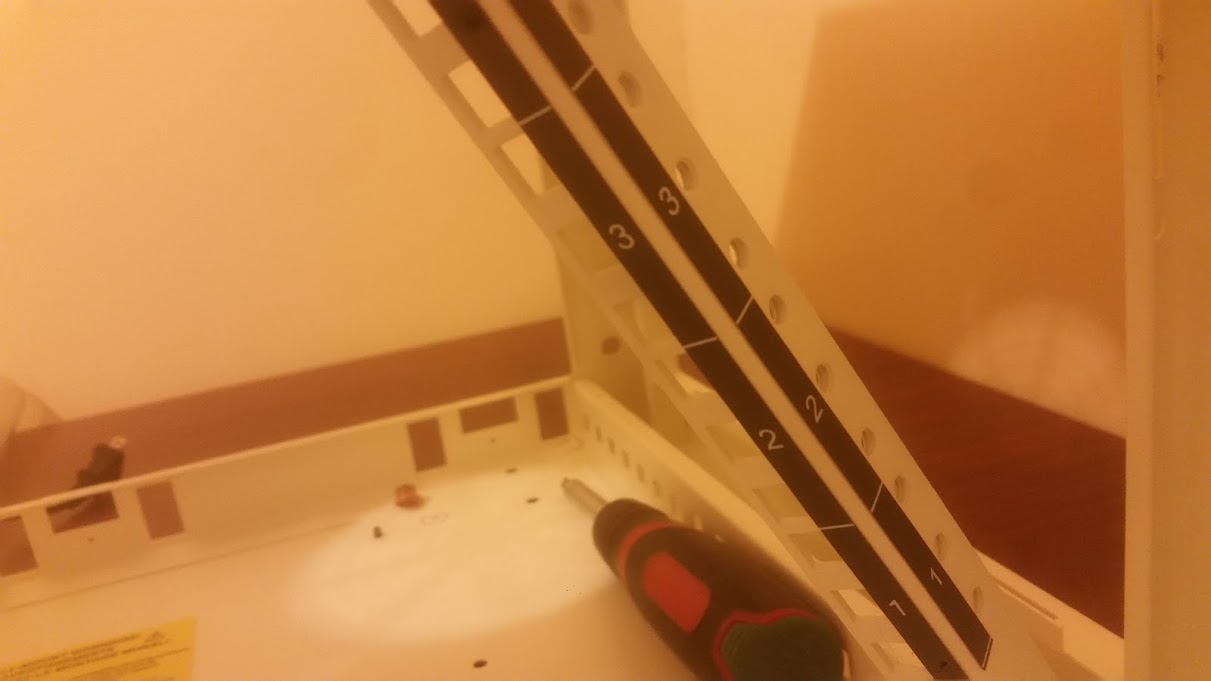
Enclosed WHITE tripplite rack install, cameras, HDMI over CAT5..
The prewire for this job is located at this post HERE
Recently this office was prewired by myself, the prewire can be viewed in the link just above.
Recently this office was prewired by myself, the prewire can be viewed in the link just above.
 |
| This rack comes with rack rails that accommodate rack screws as well as nuts |
This rack was going to be located in one of the offices and visible, and the customer wanted an enclosed rack. I really didn't like how the enclosed rack that I have used in the past HERE looks.
 |
| Connecting toggle bolts to rack, |
I opted to get a vented white rack, unfortunately it was not available locally, and even with prime it took about a week to arrive from amazon. But the final product was well worth the wait.
 |
| Holes drilled out for toggle bolts. |
I even opted to color code the patch cords for Voice, Data (which I generally do), and also the IP cameras and monitors.
 |
| Rack mounted to wall Voice and data jacks separated. |
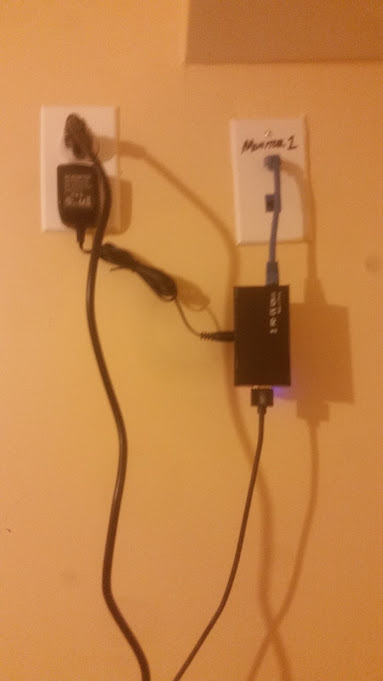
Not only was the rack, and IP cameras installed, but we also installed multiple monitors, which we use a 4x1 HDMI splitter and HDMI over CAT5 baluns to get the signal from the NVR to the monitors.
 |
| Everything patched in |
 |
| Rack all closed up (hanging wires for Verizon Demarc) |
 |
| HDMI over single CAT5 baluns connected to monitor (no photos after monitors mounted) |
 |
| HDMI over CAT5 |
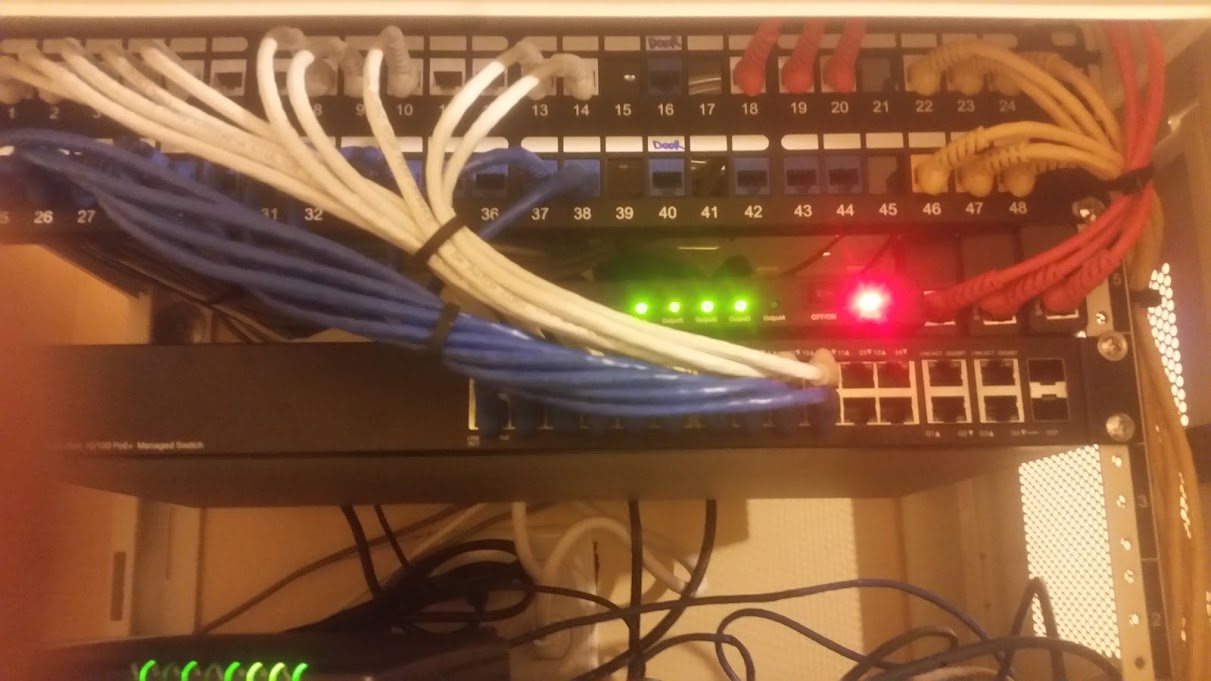 |
| Color coded patch cords: White: Voice Blue: Data Orange: HDMI over CAT5 (monitors) Yellow: IP cameras |
Quick 13+13 double network
Would have taken more photos of this network install, but my camera was acting up and wouldn't focus. I think the lense was dirty or something.
This was done in all CAT 6.
 |
| The "Patch Panel" halfway wired. |
This was done in all CAT 6.
 |
| The "Patch Panel" completely wired |
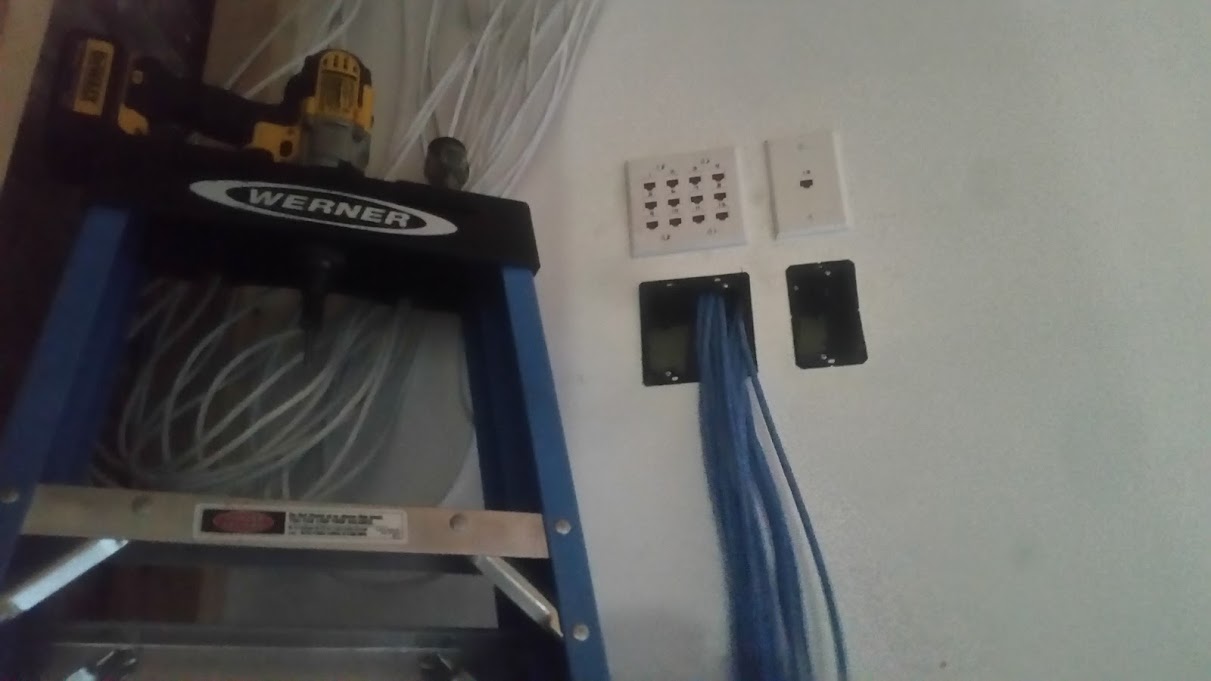
Used wall faceplates because:
1: lack of space in location customer chose for network to be located (behind a door)
2: Customer was cheap. Demanded CAT6, although he didn't know why he needed it, and then complained about its cost being higher than CAT5 even though the company I work for gave him a VERY GOOD price, honestly I would have charged at least 3 to 4 times as much had this been a private job (and I would have used a rack of some kind)
 |
| Strapped up high above beams to prevent wiring getting damaged by ceiling installation. |
Whole house audio, intercoms, cameras, etc.
Not sure if I posted the first group of photos on here before or not, but the semi-finished product is also included in this post towards the end.
A while back about 3 of us were out at this location to complete the prewiring prior to the walls going up. This is a residential install including whole home audio, intercom, doorphone, IP cameras, telephone wiring, etc..
 |
| Volume control and slave intercom base |
After the walls were finally installed myself and one other tech (different from the first crew) came back to install all of the speakers, intercoms, volume controls, etc.
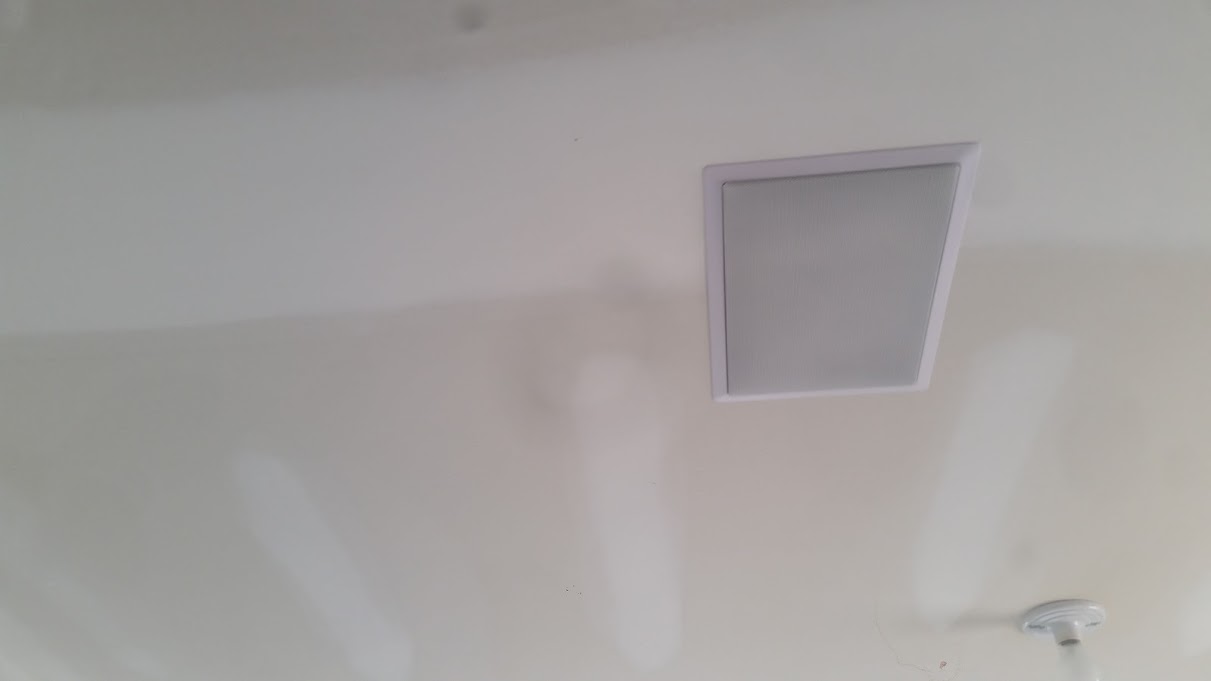 |
| In ceiling speaker |
Once all of the hardware was installed I returned alone to complete any hardware installation, as well as work on setting up and configuring everything at the "network closet"
 |
| In ceiling speaker, volume control, slave intercom base |
After everything was connected up, I returned with the tech who assisted me with installing and mounting all of the hardware to test all of the speakers and complete some finishing touches.
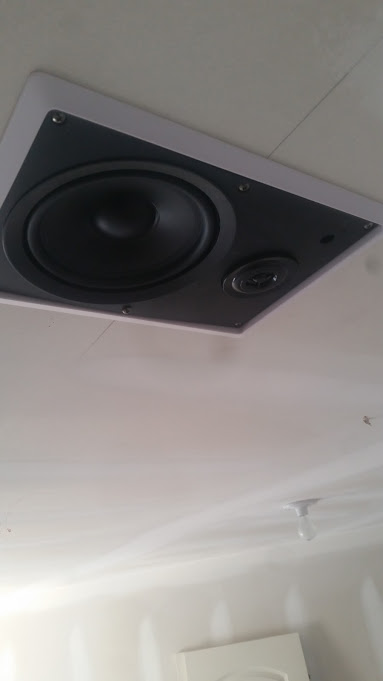 |
| In ceiling speaker |
This project is still not 100 percent complete, as there are additional monitors that need to be mounted, door strikes need to be installed, as well as all of the IP cameras that have been prewired.
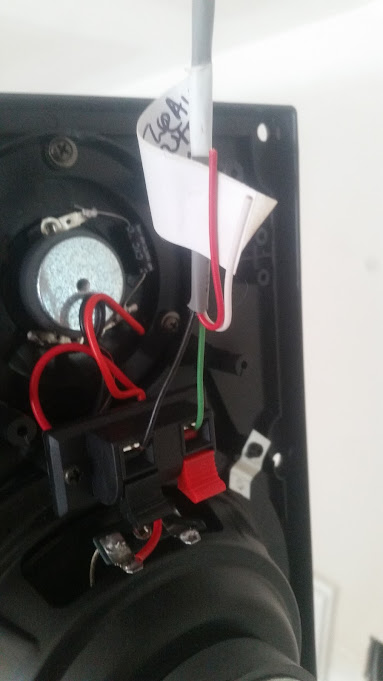 |
| In ceiling speaker |
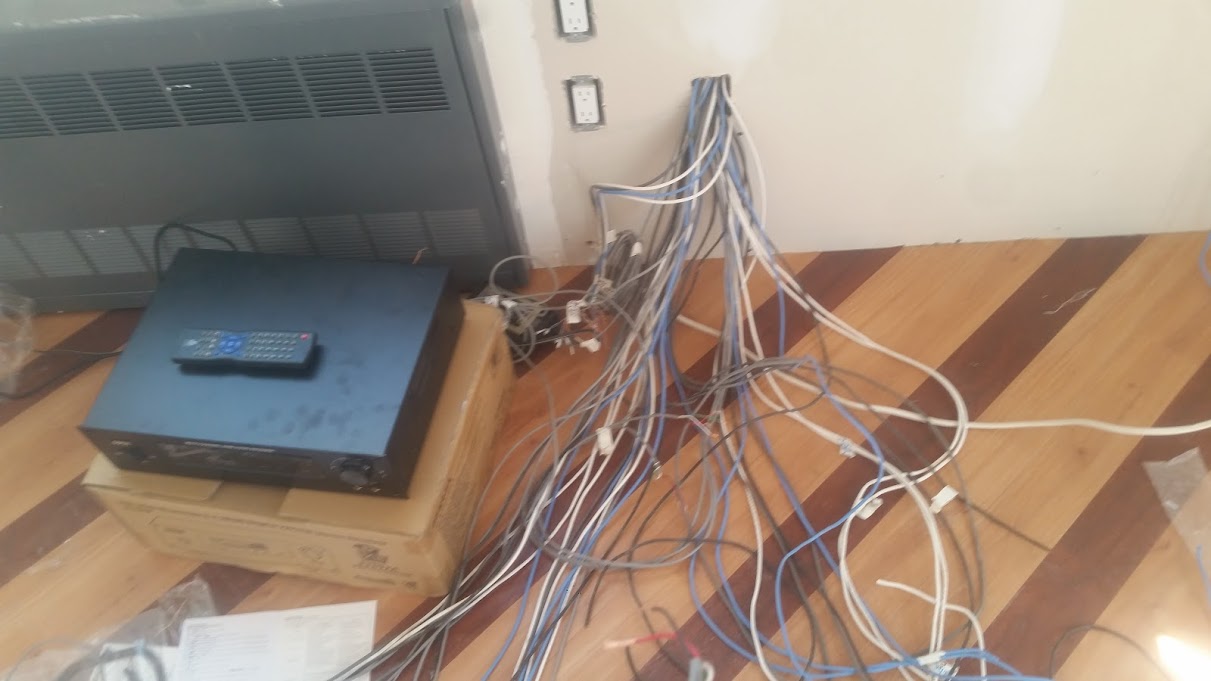 |
| All the wiring prior to cabinets being installed |
 |
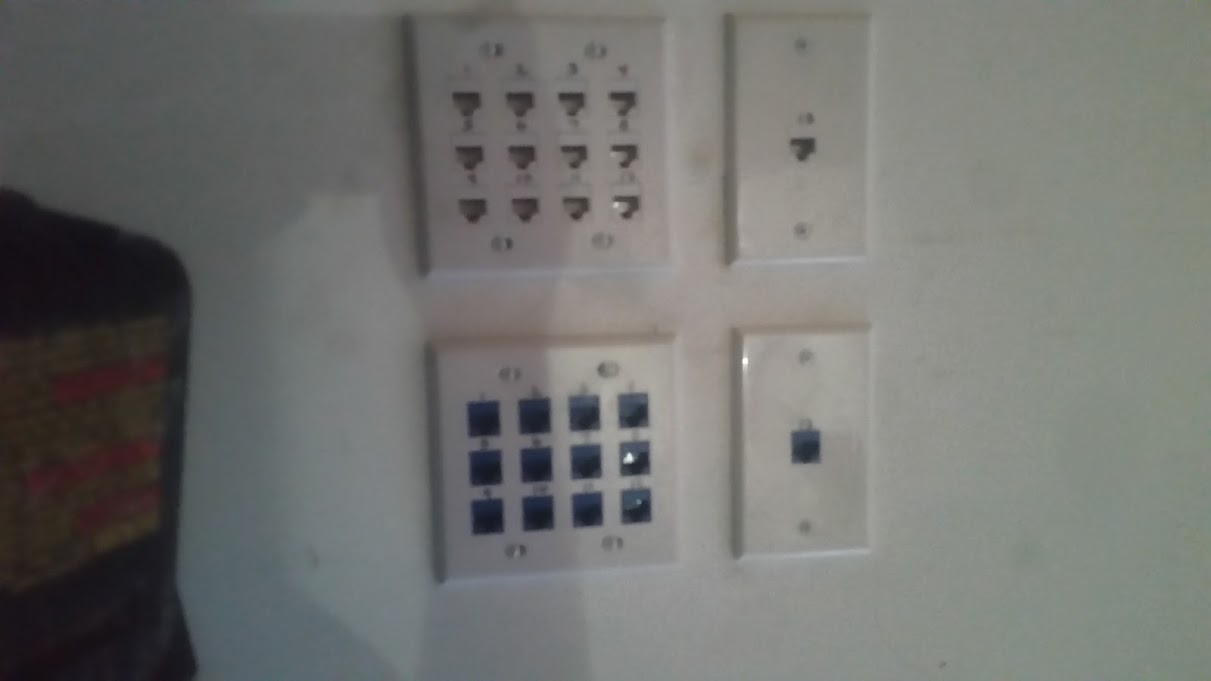
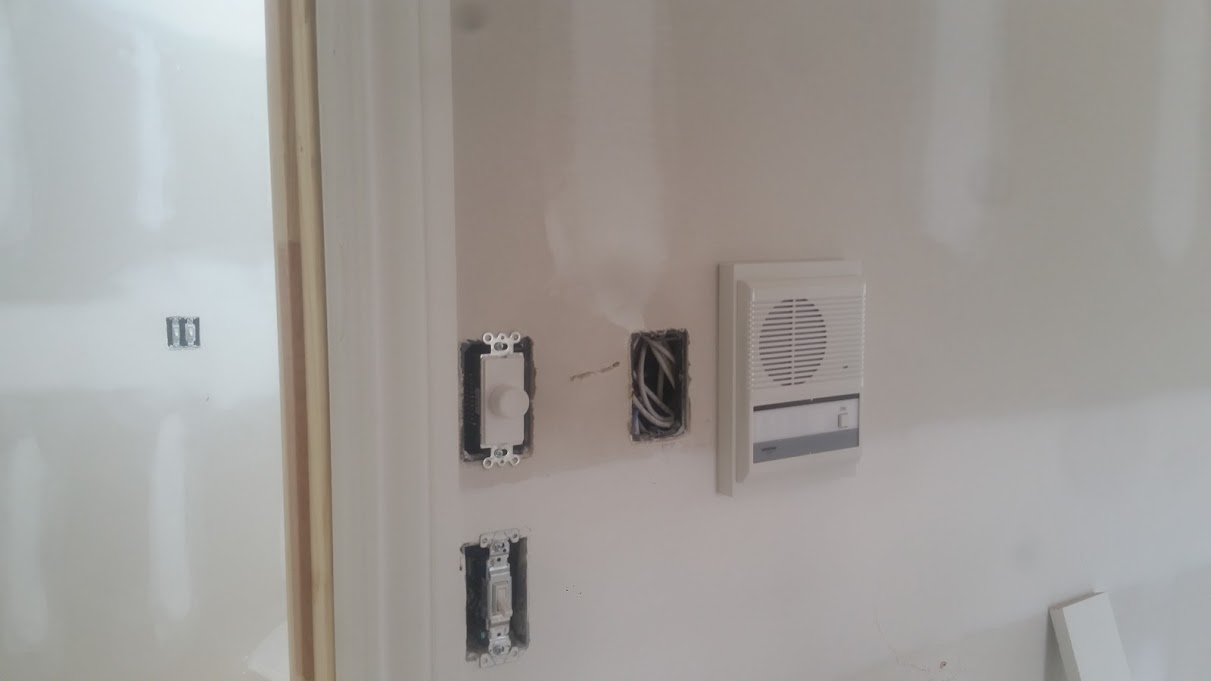
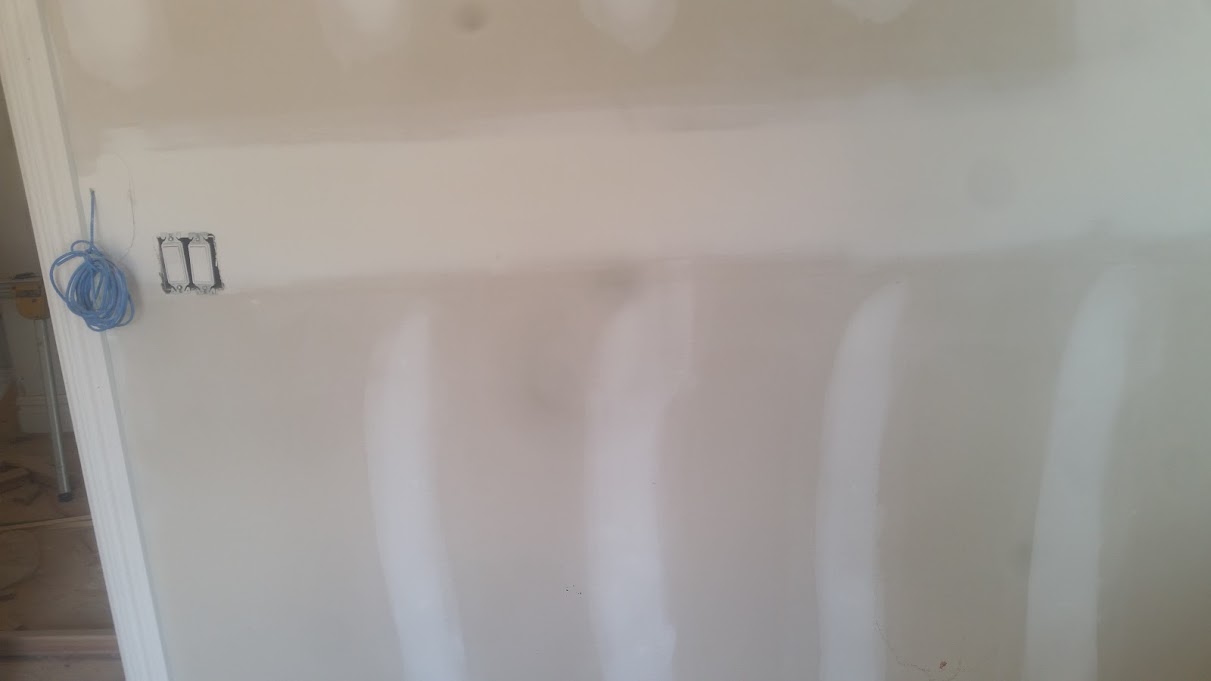
| Network jack, and intercom base |
 |
| Wiring for electronic door latch |
 |
| In wall volume controls |
 |
| In wall volume controls |
 |
| Wiring in wall speaker |
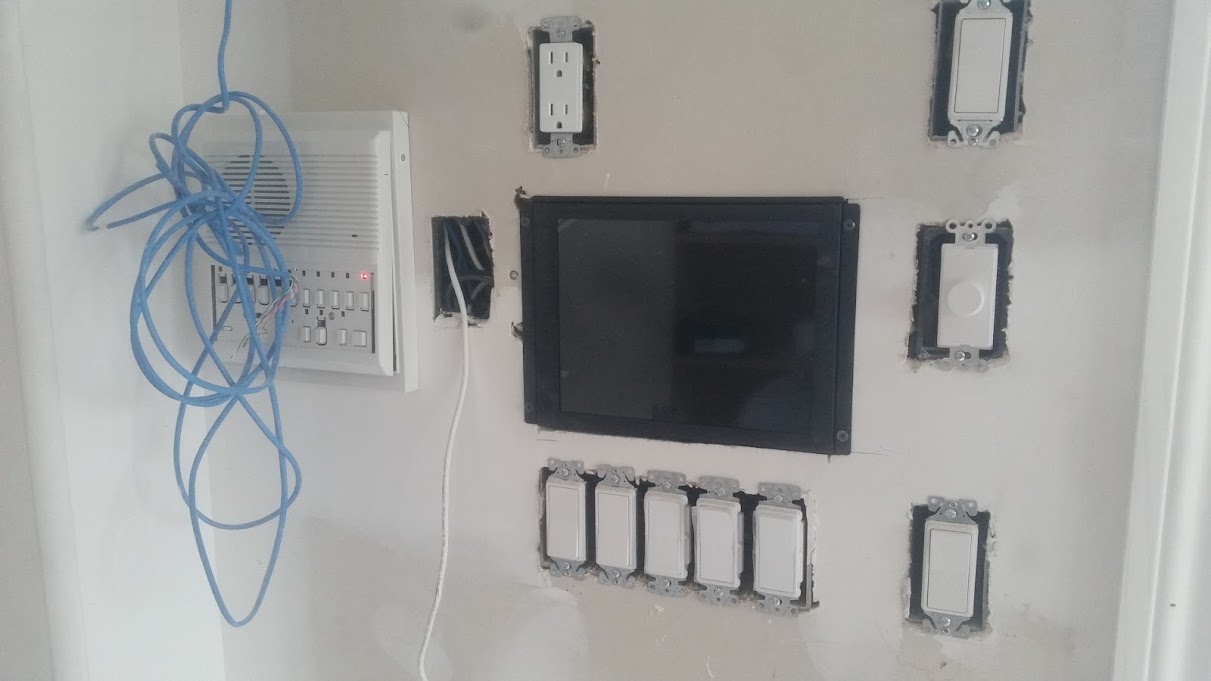 |
| Master intercom base, monitor for front door camera, analog telephone jack |
 |
| Bluetooth amplifier, Speaker splitter. |
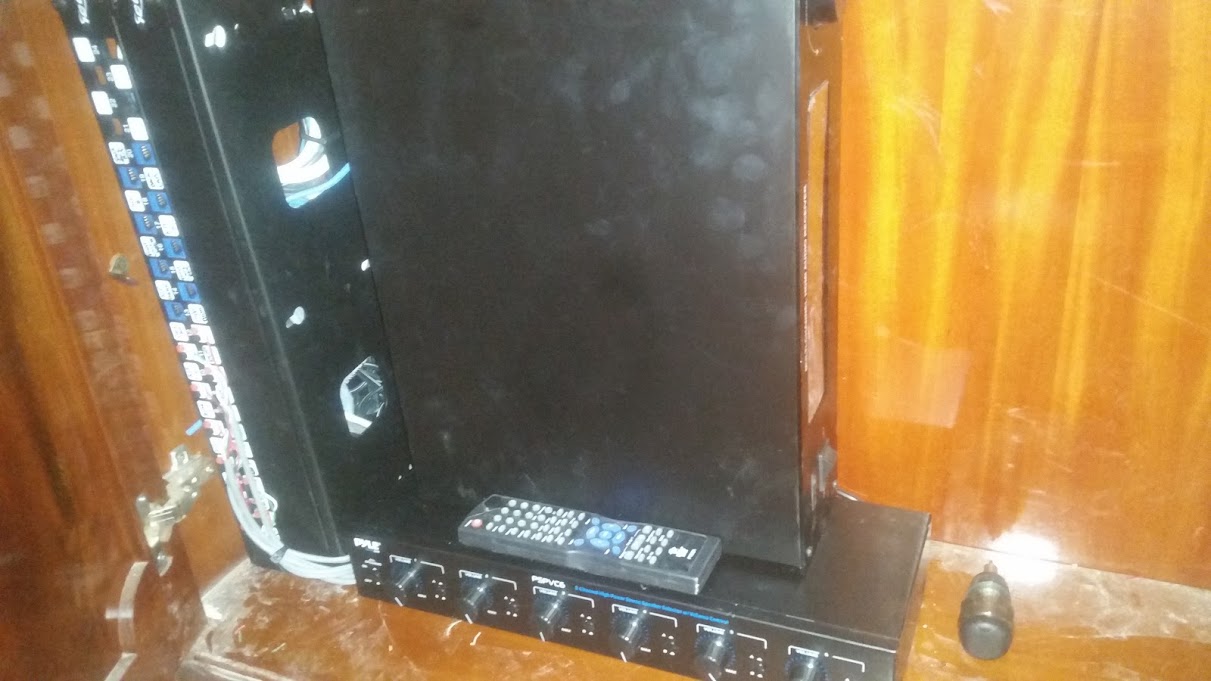 |
| Patch panel, BT amp, speaker splitter. |
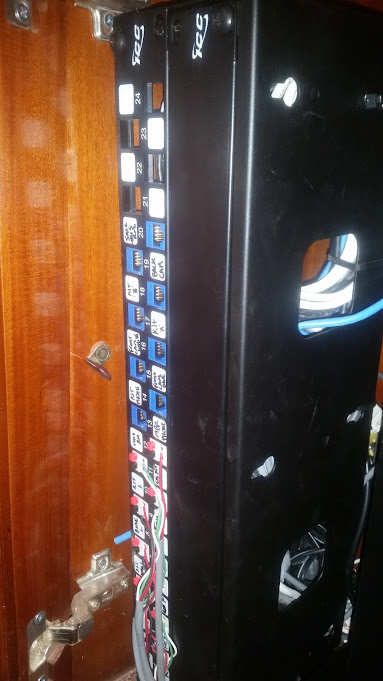 |
| Patch panel, speaker wires connected. |
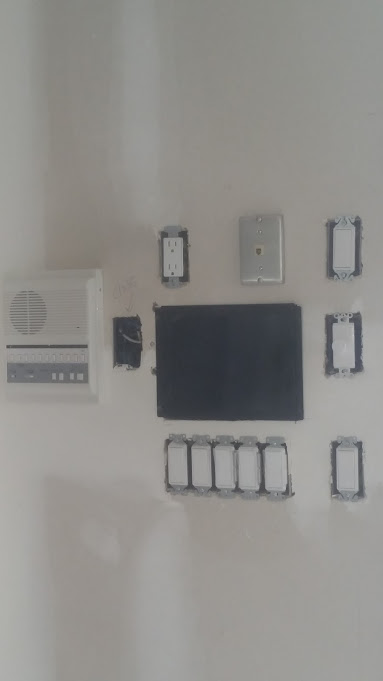 |
| Master intercom base, monitor for front door camera, analog phone jack. |
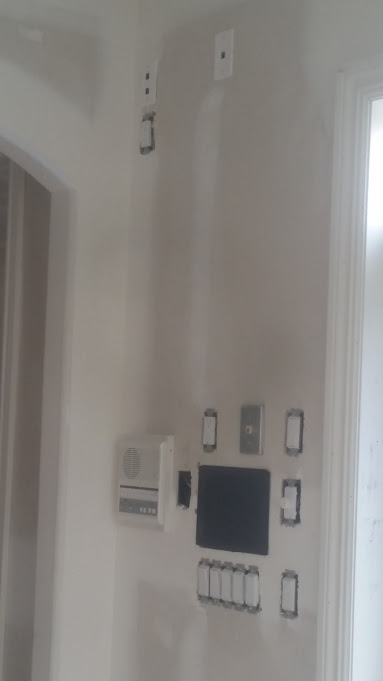 |
| Same as above, but on top is wiring for additional monitor. |
Subscribe to:
Posts (Atom)