I recently purchased a 1997 Toyota Corolla that had a defective stereo. I wanted a radio with a video screen, but according to all sources that I could find only a single DIN radio fits in this vehicle.
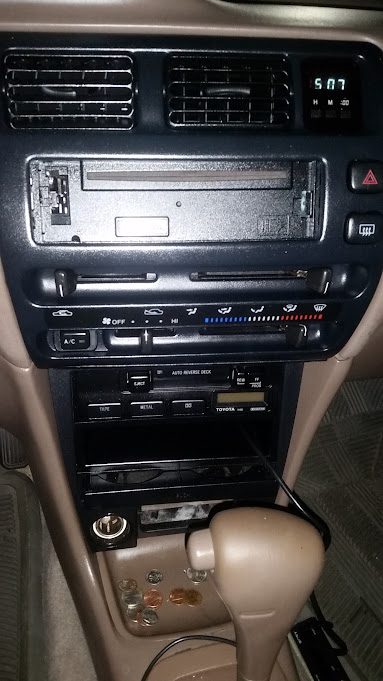 |
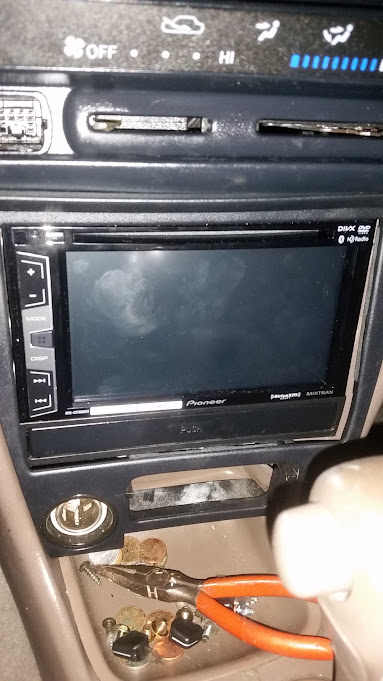
Old Kenwood stereo missing faceplate,
Original Toyota add on tape deck and pocket below vents |
The Geo Prizm is basically GMs version of this vehicle, and it uses a double DIN radio, but it is mounted lower then where Toyota mounts their radio. I did see a single post on a Toyota forum where someone had installed a double DIN radio in this lower location, however it didn't look installed very good, it was sticking out where it didn't line up with the dash panel.
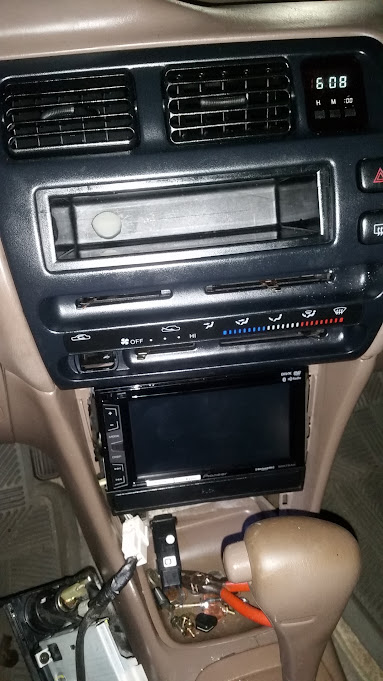 |
I used the existing single DIN pocket
to replace the head unit I removed |
I didn't want to use a single DIN stereo that had a motorized screen that pops out because it would block the vents when the screen was opened, and figured if I couldn't get the stereo to fit I could always just return it to the store.
 |
| Double DIN Pioneer installed |
Seriously it was much easier to mount and install then I even imagined. I thought that I might have to modify or fabricate something to get the radio to fit properly. In reality the only minor issue I ran into was that the wire was just barely long enough to connect. I should have extended the wire to make it easier, however it was just long enough that I will leave it as is since extending the wire is just going to stuff up the limited space behind the radio.
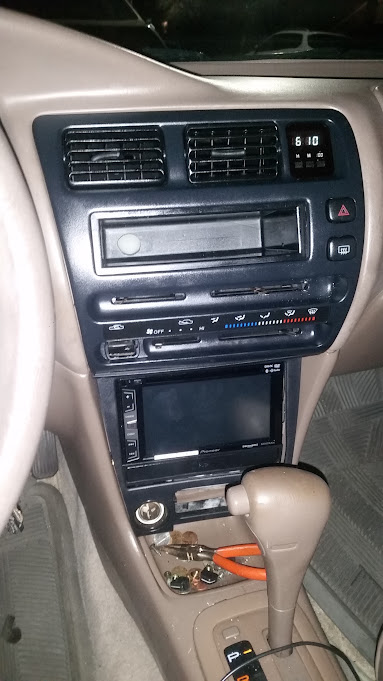 |
| Dash panel put back on |
Next up, connecting a parking brake bypass for the video signal, finding a more permanent location for the bluetooth microphone and installing cameras (the head unit allows for a back up camera as well as a second camera, which I will likely add several cameras to with a video selector switch.
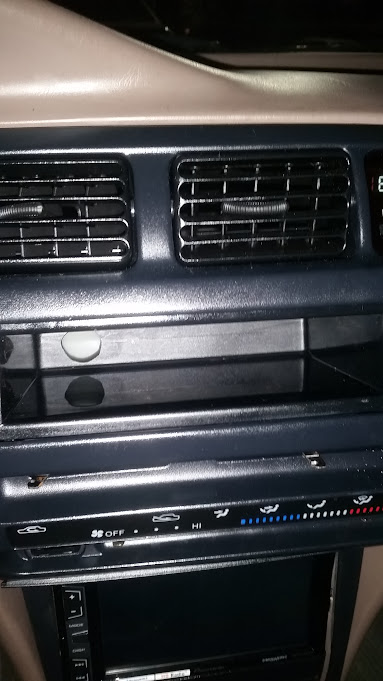 |
Close up of single DIN pocket
The hole is left over from the wired remote
for the old trunk mounted CD changer. |
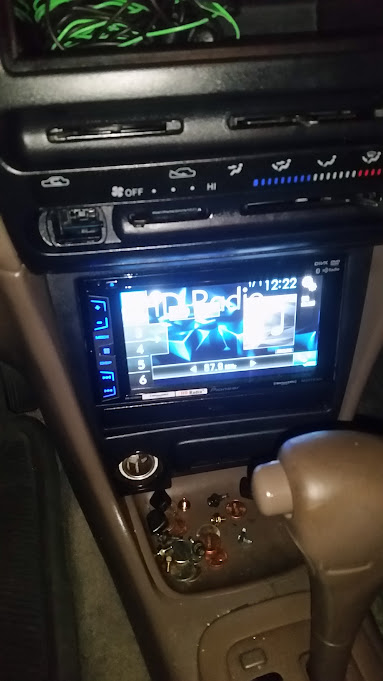 |
| Powered up for the first time |
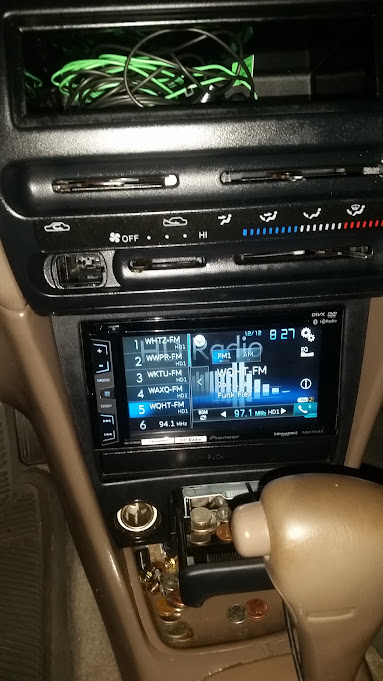 |
Green wire is parking brake lock for video,
I will be installing a bypass switch |
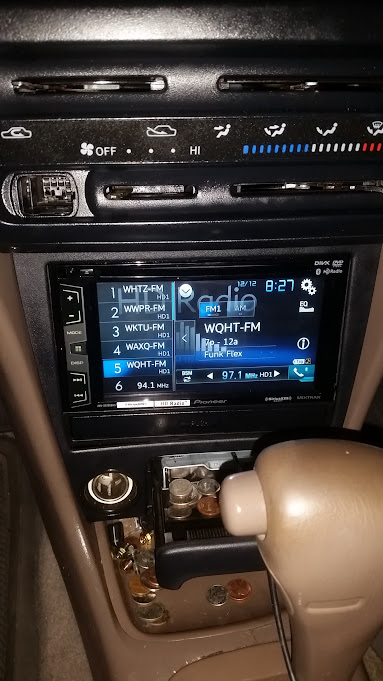 |
| It can be done! |