We occasionally run across a few customers that require the installation of an overhead paging system. While we generally install Bogen UTI-1 devices for single zone paging applications, and UTI-312 devices for multi-zone paging applications we have come across several customers who have Valcom V-2001A devices already installed at their location.
These Devices are different in the Bogen devices in that while the Bogen device will work with an FXS device, the Valcom will not. The Valcom requires an FXO port.
Programming the 3102 to work with your VoIP service is beyond the scope of this article. Check with your VoIP provider, or the documentation for the IPPBX system that you are using for configuration of the device to work with your service.
Once the device is programmed properly, a simple test that can be performed to confirm that it is properly provisioned is to connect the LINE side of the device to a dial tone, then call into your 3102 - you should get the dial tone that the device is connected to, to confirm this disconnect the line cord from the line side of the device while you are on the call. You should immediately lose the dial tone.
Connecting a SPA3102 with the default settings will NOT work. You need to adjust the Busy detection setting under the PSTN tab. By default this is set to 30. I have found that by changing this setting to 20 everything will work properly. If you do not adjust this setting, the device will never connect to the device.
Before connecting the LINE side of the SPA 3102 to the V-2001a you should make sure that the switch next to the top jack that you will be connecting to is in the up position.
DUE TO ISSUES WITH GOOGLE PHOTOS ALL IMAGES AFTER AUGUST 2015 ARE NOT SHOWING, I AM TRYING TO FIGURE OUT HOW TO GET THIS WORKING!
Promotions:
Monday, October 14, 2013
Monday, September 9, 2013
24 port PoE switch and patch panel + CAT5 runs
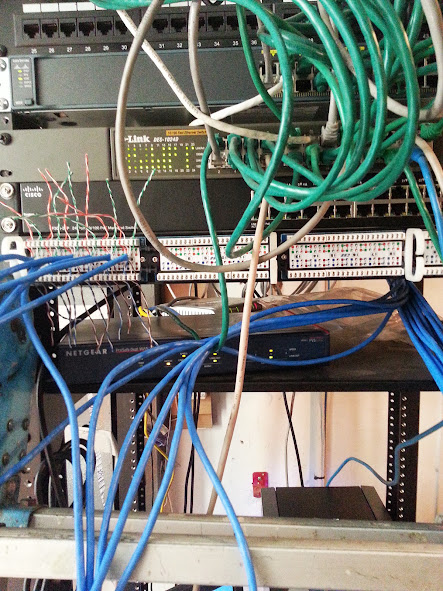
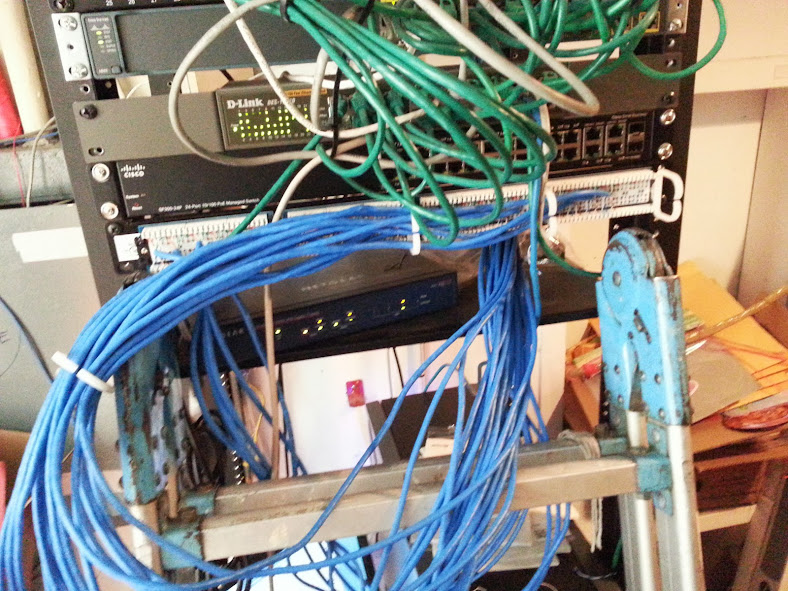
This customer already had an existing data network, and the panel was a bit messy. I installed a parallel network for their VoIP phones. Not the worse that I have seen, but a mess of patch cords regardless. The customer has a network or IT technician that handles their data network, so I did not touch any of the data network patch cords, and all of their existing equipment was left as it was.
![]() |
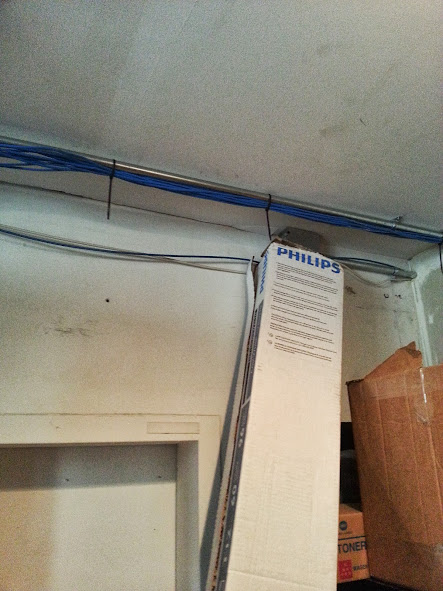
| All of the CAT5 runs that I did were surface mounted, they were tywraped to conduit piping in the warehouse. |
![]() |
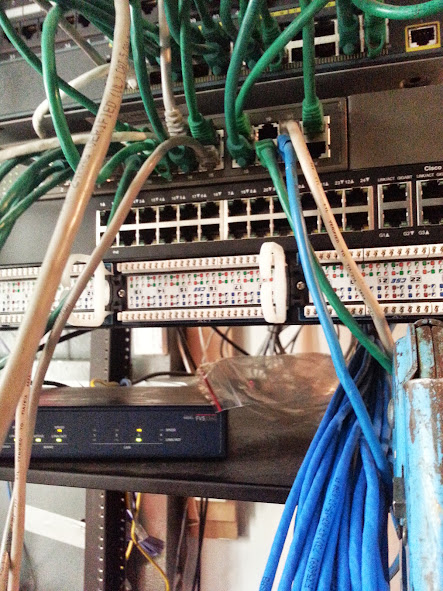
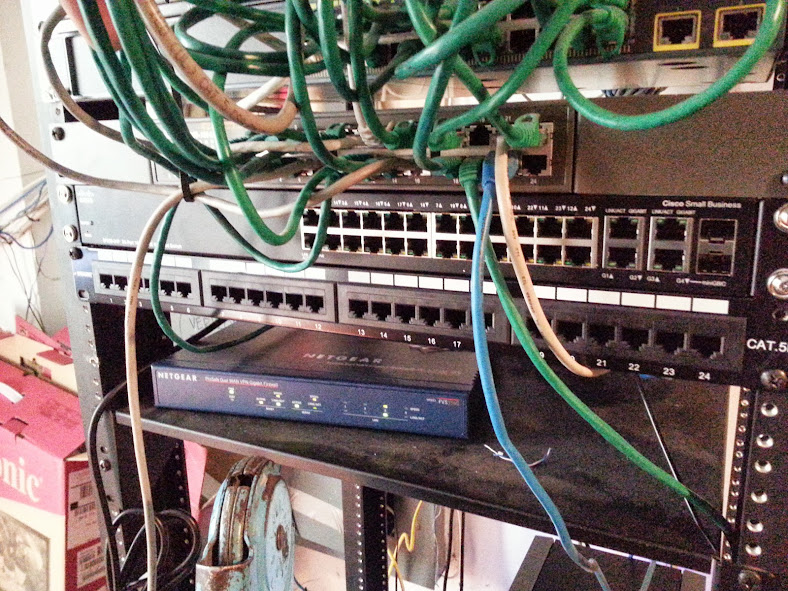
| With the mess of this active data network I had to use caution when mounting my 24 port PoE switch and my 24 port patch panel. |
![]() |
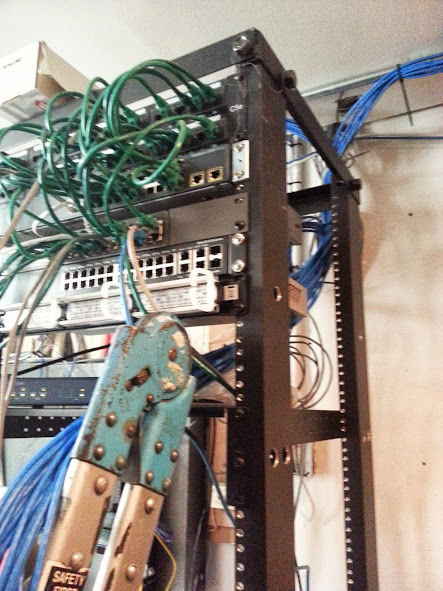
| Everything on this rack existed prior to me getting on site, minus the 24 port switch and patch panel. All green patch cords, and active routers/switches are for data network. |
![]() |
| First 6 cables ready to be punched down. |
![]() |
| 22 CAT5 wires terminated in my 24 port Patch panel. |
![]() |
| Had to use extra caution when flipping my patch panel over after everything was punched in, because the data network was active. |
![]() |
| All new jacks patched in. |
You may ask why did I use 3 foot patch cords instead of 1 footers, like the green ones that were used for the data network. First and foremost, patching everything in this way, and coming from the same side where the CAT5 is punched in to the panel allows for the panel to be removed from the rack to punch in additional jacks (there are 2 spaces available in the rack) as well as allowing for troubleshooting/repair of defective or improperly terminated wires. I also feel that it is more visually appealing and keeps things neater. Rarely will you see 1 foot patch cords in my bag of supplies.
Oh, and in case you were wondering, all of the excess of the zip ties were clipped after taking this photograph.
Out of time constraints, jacks were NOT tested and labeled, but I did patch everything in so that the panel port number and switch port number are the same, so that Labeling can easily be completed in the future with out the need for a tester or meter. All phones registered and got power from the PoE switch, so there were no failures. Testing and labeling would have taken at least an hour or two. Since there are no failures, I can easily have everything labeled within 20 minutes on a future visit.
Saturday, August 17, 2013
Painting my electrical panel chrome
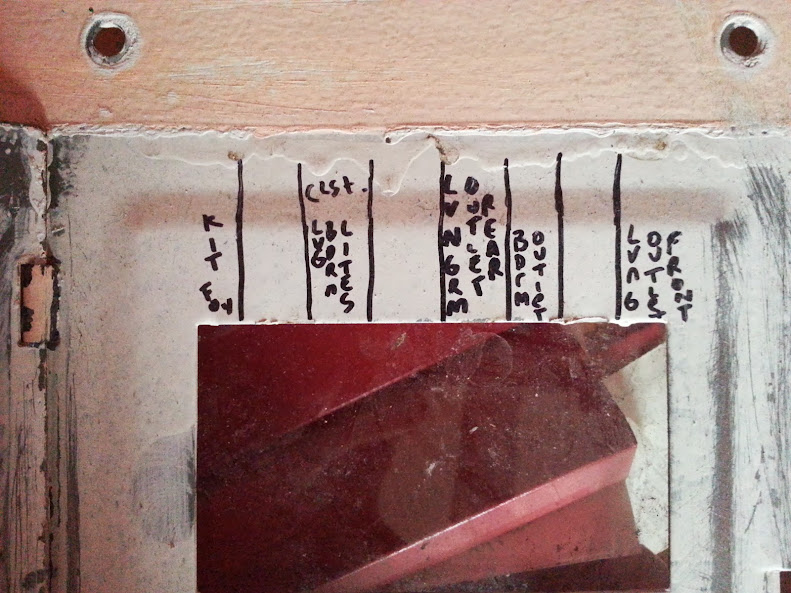
My electrical panel cover had at least 2 coats of different colors from previous paint jobs in the house. Much of it was uneven, and not smooth, because of the paint running.
So there is some white paint, and some peach paint on the electrical panel cover, no good.
Instead of trying to paint it the same color as the wall to try to hide it, I thought why not just make it stand out, sort of like a piece of art on the wall. What better way than to make it chrome!
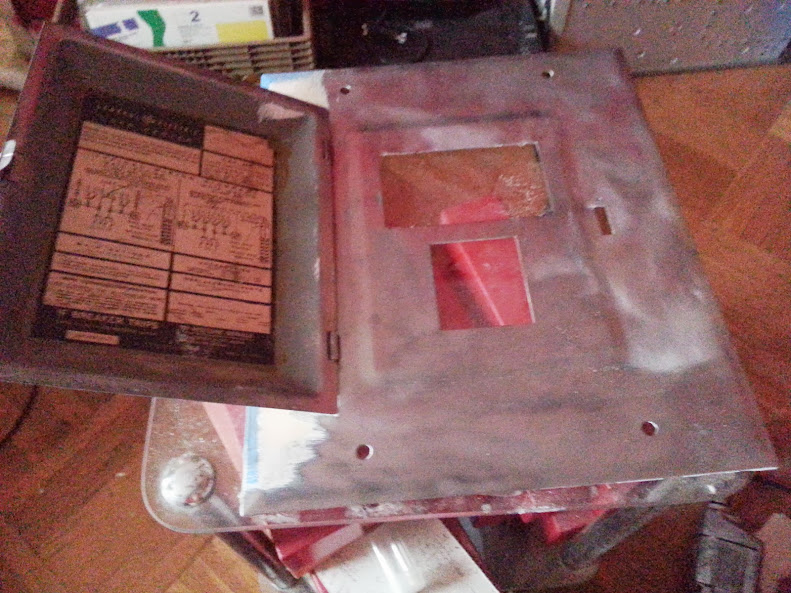
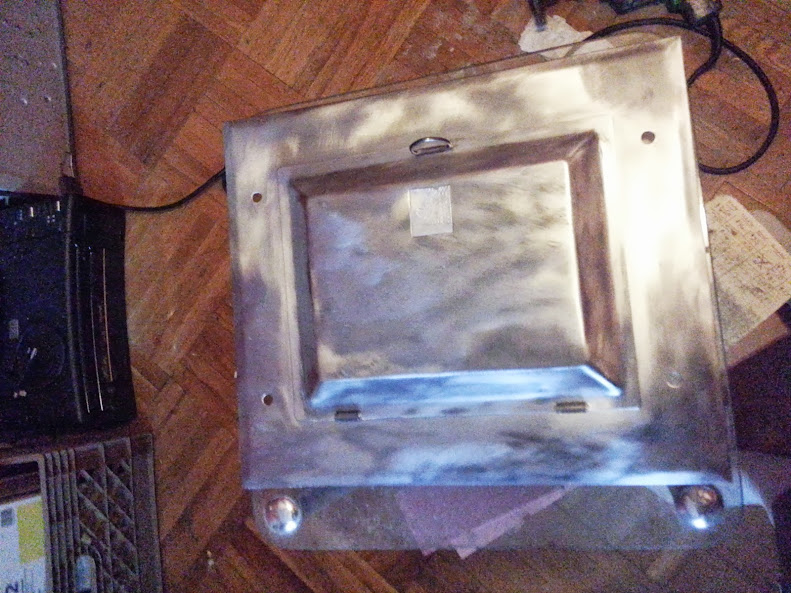
I began the long and difficult task of removing all of the paint on the cover down to the bare metal, so that everything would even out.
The drill got very hot during this process, since I leave my "real" drill at work, and had to resort to using an ancient drill with metal casing. This required me to stop several times during the process of removing all of the paint.
It was important however to ensure that all of the paint was removed, so that I had a nice smooth surface for the final product.
As you see, not only was there white paint and peach paint on the cover, but there was also some blue paint from the last time that the walls were painted.
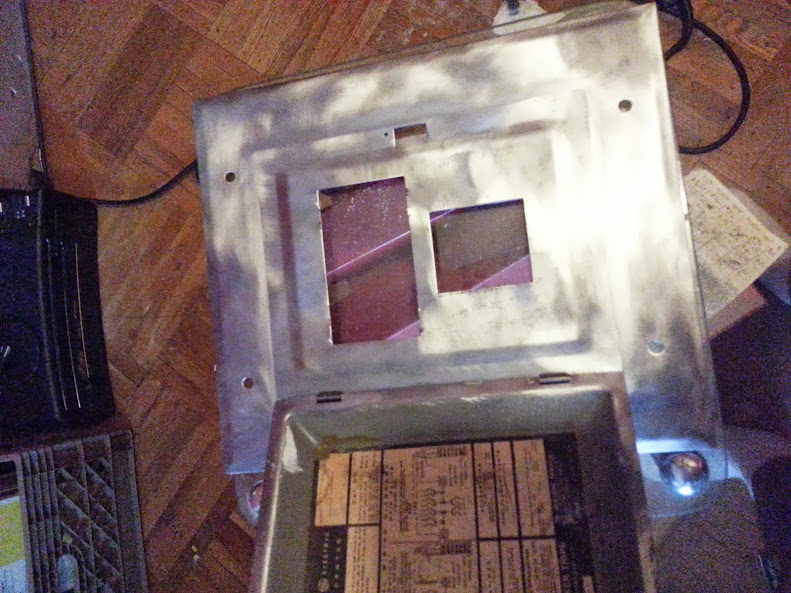
The cover looks great with the paint all removed, and If I was not so concerned with leaving bare metal on my electrical panel, I might have opted for just leaving it like this.
The only thing left untouched is the original sticker on the inside of the door.
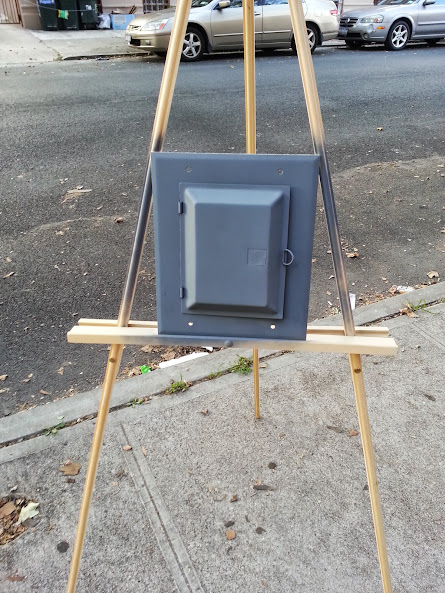
On to the outside, where I sprayed a few coats of gray primer on the bare metal. This ensures that the paint will adhere to the surface, and in choosing the grey primer over other colors ensures a close enough base color to the chrome for the best results for the final product.
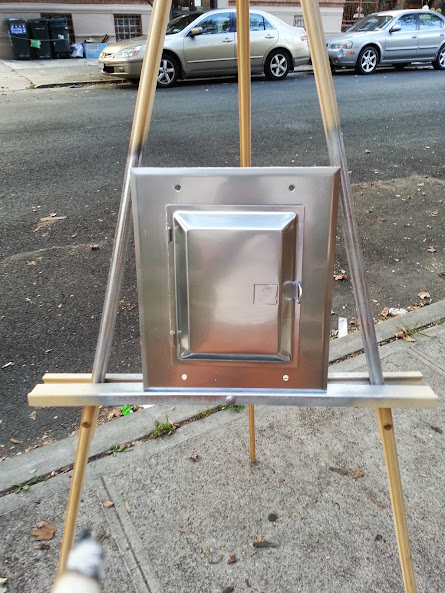
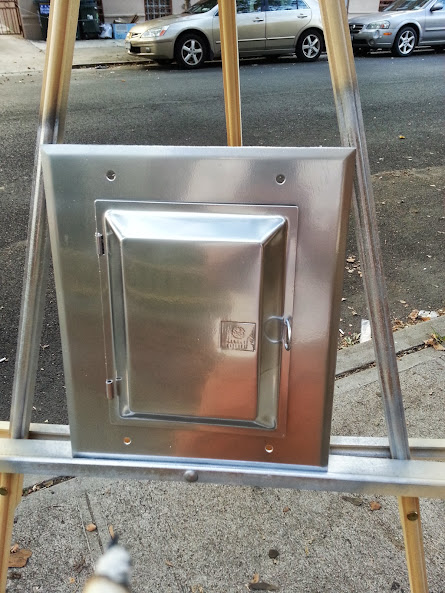
Several coats of the chrome paint, and you can see my reflection in the cover.
This is a project that I had wanted to do for at least a year, but never had the time to get around to it. Who knew that something as simple as removing the paint from an electric panel cover, and then respraying it would be such a difficult task?
Finally it has been mounted on my wall. The only defects in the paint are from where I prematurely touched it before the paint fully dried.
The photographs taken inside of my home do not do justice to the quality of the final product, which is as close to a chrome finish that I could have ever expected without sending it in to get chrome plated. The photo with the spray can makes the finish appear to be more silver than chrome, and not very reflective, but take a look at the image just above that, where you can see the reflection of my front door in the cover.
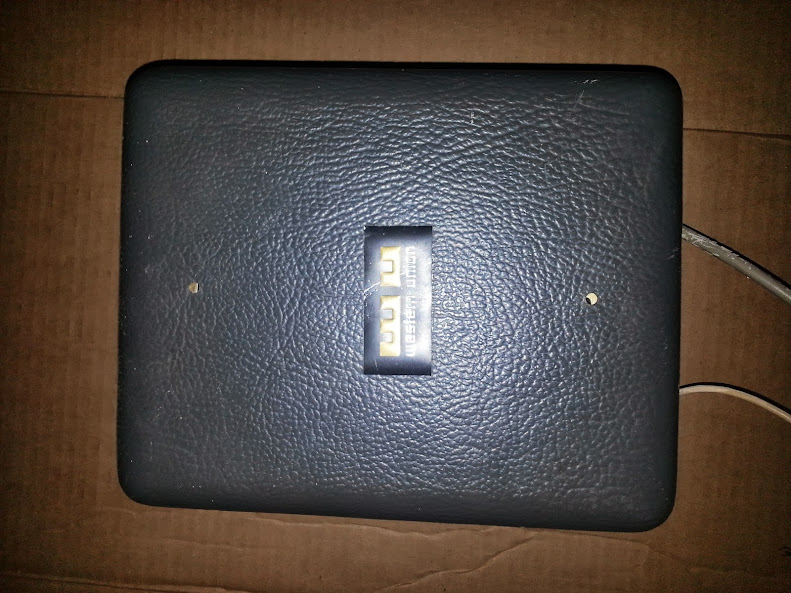
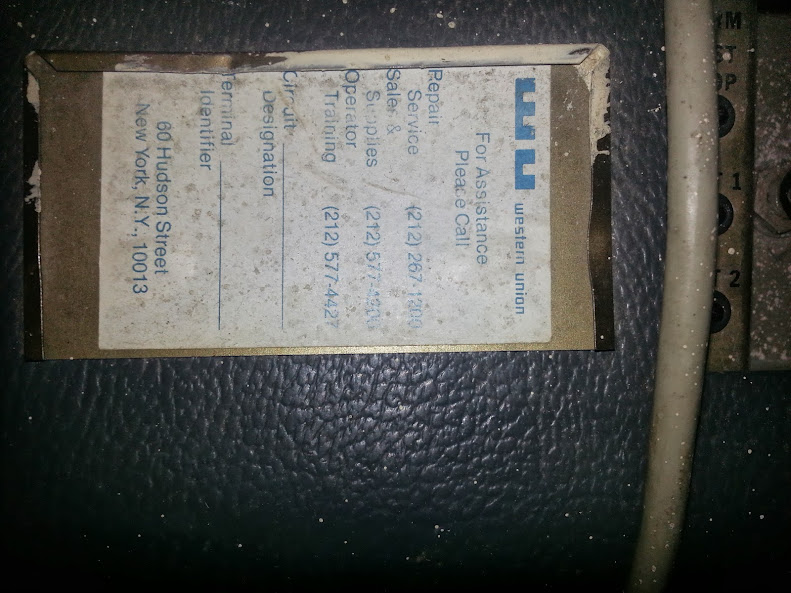
Obsolete Telecom equipment removed from a customers location
I love the history of old telecom equipment, and whenever there is something obsolete that is only going to find its way into a dumpster, because it is no longer useful in the modern world I usually save it from going to a dump.
So is the case with this piece of equipment that was removed from one of my customers, that I was at installing a new data network for IP phones.
Oh, and it's for sale if anyone has any use for it, or just collects telecom nostalgia.
Subscribe to:
Posts (Atom)