DUE TO ISSUES WITH GOOGLE PHOTOS ALL IMAGES AFTER AUGUST 2015 ARE NOT SHOWING, I AM TRYING TO FIGURE OUT HOW TO GET THIS WORKING!

Sunday, March 9, 2014

Installing hidden network and fixing wires cut by contractor!

We recently ran about 15 CAT5 runs for a newly renovated supermarket. Unfortunately the guys installing the sheetrock cut every single wire!! It was too far into the construction phase to replace these wires, since the wires going down the wall had the sheetrock laminated over them, and most of the rest of the walls had already been finished. The only solution was to splice every single wire. It took about 4 hours, and it is not recommended at all, but I was able to splice all of the wires together in the ceiling, after cutting open a huge opening in the ceiling to get better access to my wiring. 

Fixing the contractors damage to EVERY SINGLE wire we installed!
I advised my boss, as well as the customer that this is not the right way to go about this, and that I could no longer guarantee the effectiveness of any of these wires, but we were left with little choice. Luckily when all was said and done only a SINGLE PAIR of wires failed. Unfortunately the device connected to this wire that had the failed pair was a PoE device, but with a little trickery  we were able to get that device powered up and working with just 3 out of the 4 pairs in the CAT5. 
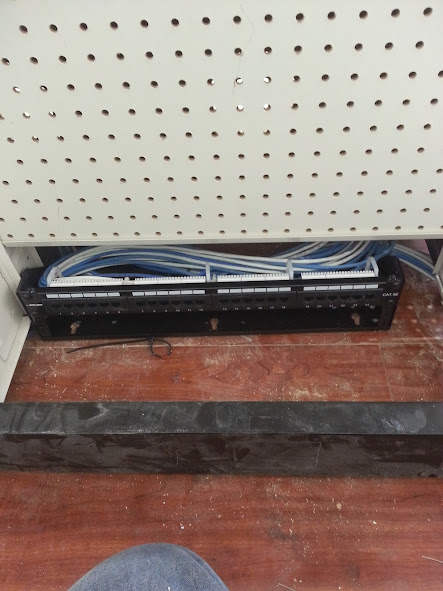
Hiding the patch panel under a shelf by the register.
The original plan called for a lockbox to be placed on the bottom shelf by the register to house the patch panel and switch, however upon our return to punch down all of the wiring the register cabinet had been changed, and lacked the depth required to mount the hardware. Fourtunately there was plenty of space under the shelf unit to place everything hidden out of plain sight. 
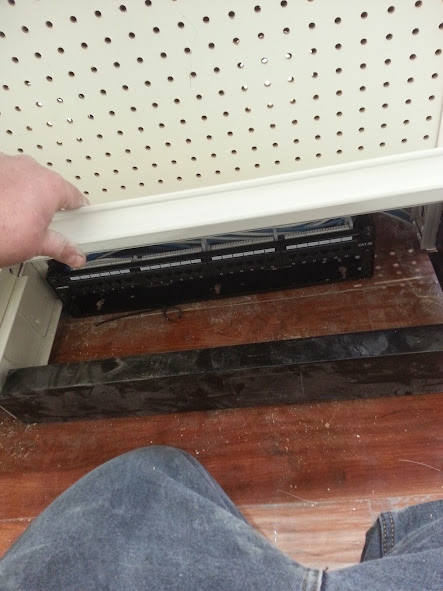
Installing shelf back over hidden patch panel. 
This placement of the network is probably even a better option then the original plan with the lockbox.
It provides better airflow around the entire 24 port PoE switch that has been installed (since photos have been taken) and keeps it hidden out of sight, so someone attempting to disrupt the network will have difficulty locating it.
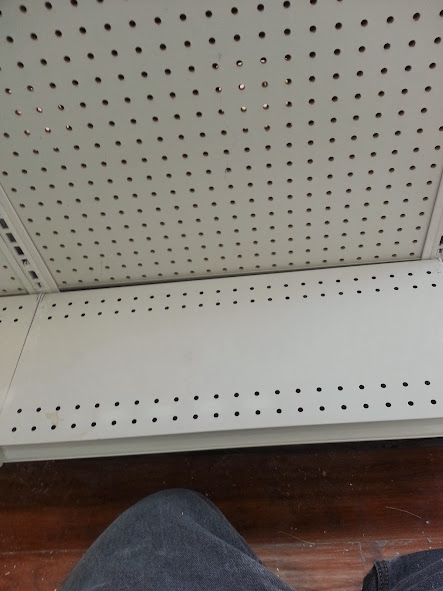
Shelf in place, no one will ever know the network is hidden below! 


Monday, February 3, 2014

Choose your business email address carefully.

Recently I have noticed several companies where they are using an @verizon.net or other ISP provided email address for their business. This is the absolute worse choice that you can make when choosing an email address to provide to the public for your business.

I have already had several customers who learned of this first hand, when they moved or changed internet service providers and were unable to take their "business" email address with them.

Unless you work for the ISP, using their domain's email address is NEVER a good idea for your business email.

So what should you do in deciding on your business email address to provide to the public, because you ARE going to need an email address. The fastest, easiest, and free way to go about this would be to get a gmail address such as yourbusinessname@gmail.com. This is NOT the most professional looking, and probably should only be done for businesses that do not yet have an online presence, but its portability for when you move locations or internet providers it is better than using your ISPs provided email address.

Using a free email service such as gmail however does not present the most professional of appearances however, and may make more tech savvy customers skeptical of doing business with you, at least via email. The reason is because anyone can easily set up a free @gmail address and use whatever name that was available. Gmail addresses for business uses should only be used in the start-up phase of your business, or if you rarely communicate with your customers via email.

The best choice for email for your business would be to use your own domain such as yourname@yourcompany.com This provides the most professional appearance to the public, and provides the most legitimacy. Hosting your own email server is probably not the best option for the average business, but fear not you can go to google or many other companies to host your email out on the cloud.

Wednesday, January 29, 2014

Installing CAT5 network, and removing ancient key system

I first arrived at this job to find an ancient key phone system, and a somewhat messy "network" closet.
All of the computers were wired to this closed with long patch cords and hanging all over the place.

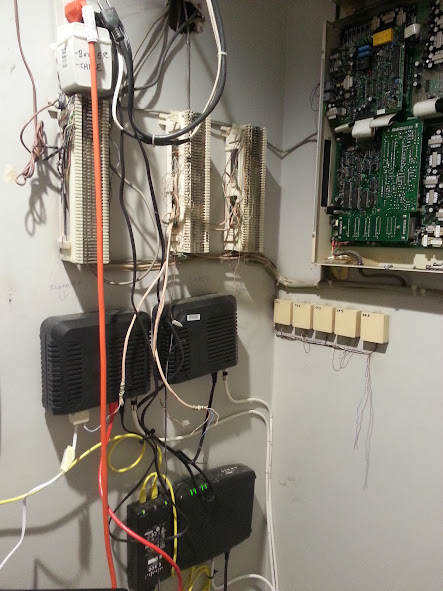
Existing network and old phone system 


Close up of existing wiring and phone system.
I usually do not like removing any wiring blocks that previously existed, because it can be difficult to know what is still being used. Many times door relays, fax machines, or other low voltage systems are wired thru on the existing 66 blocks. I do occasionally will remove old phone systems or other no longer in use hardware.

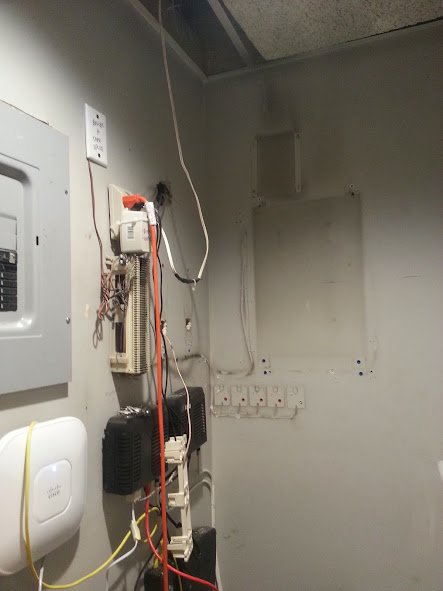
Removed old key system and 2 66 blocks
In this case the system was never in use by my customer. I was able to date the system to at least 1986 from a date that was stamped on the main board, as well as an inspection sticker located on the housing of the system. I was easily able to determine that 2 of the 66 blocks were only connected to this old system, and the station wiring (which will no longer be used). The other 66 block however appears to have at least some wiring for the door relays and possibly the existing intercom system, so I left that untouched.

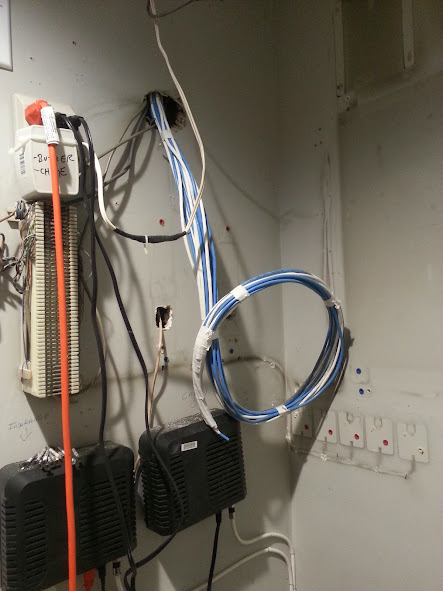
New CAT5 wiring thru existing hole. 
There was plenty of holes in the wall already in the "network" closet, so I just used an existing hole to snake the wire down the wall. 

4 additional runs need to be completed, 2 are going 2 flights down and 2 are going directly behind the network room. The patch panels and/or rack still need to be installed, and the switch and router needs to be properly mounted. 

UPDATE:

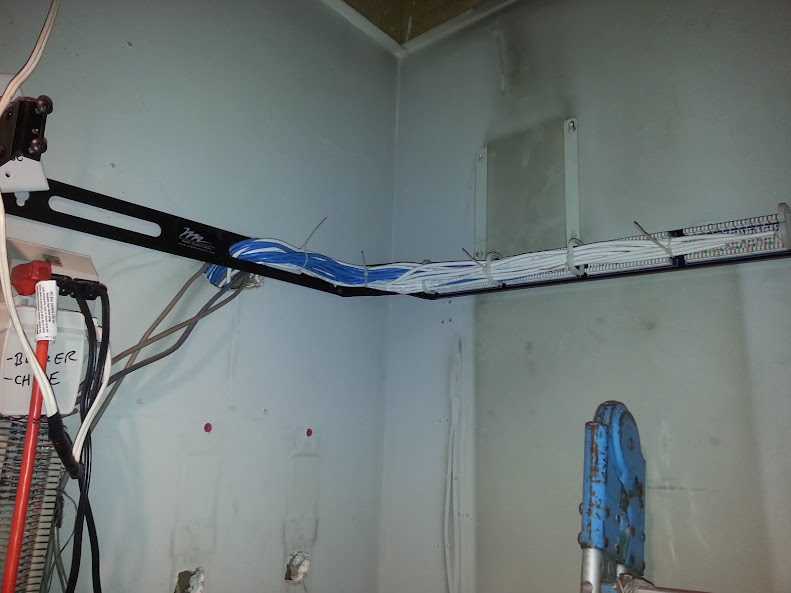
Day 2 brings with it the completion of the job. A 24 port patch panel was installed with a wall bracket. The remaining jacks and wiring was completed, and all jacks were labeled. I also mounted a 16 port switch, but by the time the jacks were labeled the computer tech had already installed his switch and started patching in the network for the PCs. 

24 port patch panel all punched down. (20 jacks in total) 

I do need to return to install a wall mount for one of the VoIP phones, as well as a PoE injector because the warehouse phone is not near a power outlet. 


Another thing that did, which I attempt to do whenever there is time is that I printed out a spreadsheet of all of the jack numbers and their locations and left it by the patch panel. This can reduce the amount of time to install or troubleshoot issues - instead of having to crawl behind someones desk to see what number a jack is, the spreadsheet can be referenced to ensure the jack is properly patched into the right switch. 


Tuesday, January 7, 2014

UTI-1 installation options

A customer requested information on how to install one of these, so I created these diagrams to assist in the installation.

**The options With an amplifier AND with music: the music does not have to run thru the UTI-1 device, rather it can run thru the amplifier, depending on the type of amplifier that you are using, and its inputs. 

** This is a SINGLE ZONE paging interface, meaning even if you have speakers connected to both outputs, all pages will reach all of the speakers connected to this device. For multi-zone paging applications use a UTI-312 instead of a UTI-1. This provides 3 separate zones out of the box, and is expandable 3 zones at a time for a total of up to 12 separate paging zones. 

Overview
Self-amplified NO music

Self-amplified WITH music

Self-amplified, multiple speakers WITH music
single speaker NO music

WITH amplifier NO music

WITH amplifier WITH music

WITH amplifier
multiple speakers WITH music
single speaker NO music